To install a ceiling fan in an RV, begin by turning off the power and securing the RV. Then mount the fan base and connect the wiring following the manufacturer’s instructions.
Installing a ceiling fan in an RV can provide much-needed ventilation and cooling during travel and while parked. Whether you’re looking to upgrade your existing fan or add a new one, following these steps will ensure a successful installation. By taking the time to carefully plan and execute the installation, you can enjoy the benefits of a ceiling fan in your RV.
This guide will provide you with the necessary steps to install a ceiling fan in your RV, allowing you to stay comfortable and cool during your travels.
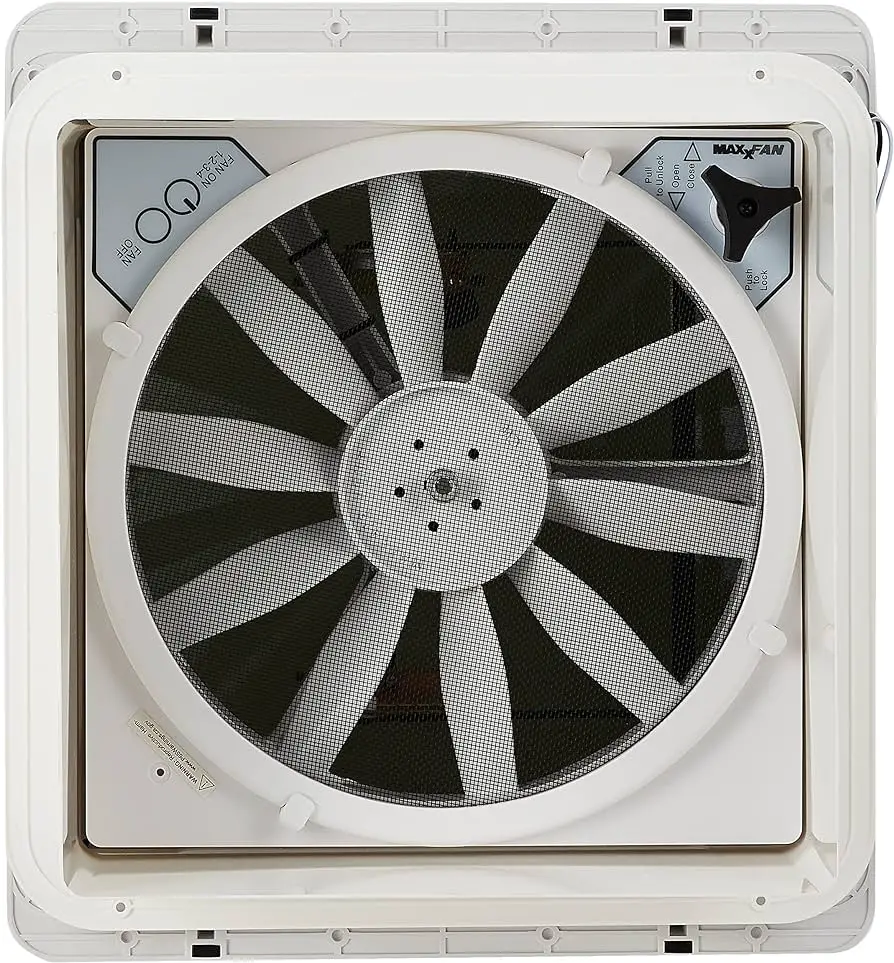

Credit: www.amazon.com
Pre-installation Preparations
To install a ceiling fan in an RV, begin with pre-installation preparations to ensure a smooth process. Check the wiring, ceiling support, and available space. Clear the area and gather the necessary tools and materials for the installation. Making these preparations will help make the installation process more efficient and successful.
Selecting The Right Ceiling Fan For Your Rv
Choosing the right ceiling fan for your RV is crucial. Consider the size of your RV and the available ceiling space. Opt for a fan that fits the dimensions and complements the interior design. Additionally, look for a fan that is energy-efficient to conserve battery power while in use.
Gathering Necessary Tools And Materials
Before starting your RV ceiling fan installation, ensure you have the necessary tools and materials. This may include a screwdriver, wire stripper, voltage tester, wire nuts, ceiling fan mounting kit, and the fan itself. Check the manufacturer’s instructions for any specific tools or materials required for your particular fan model.

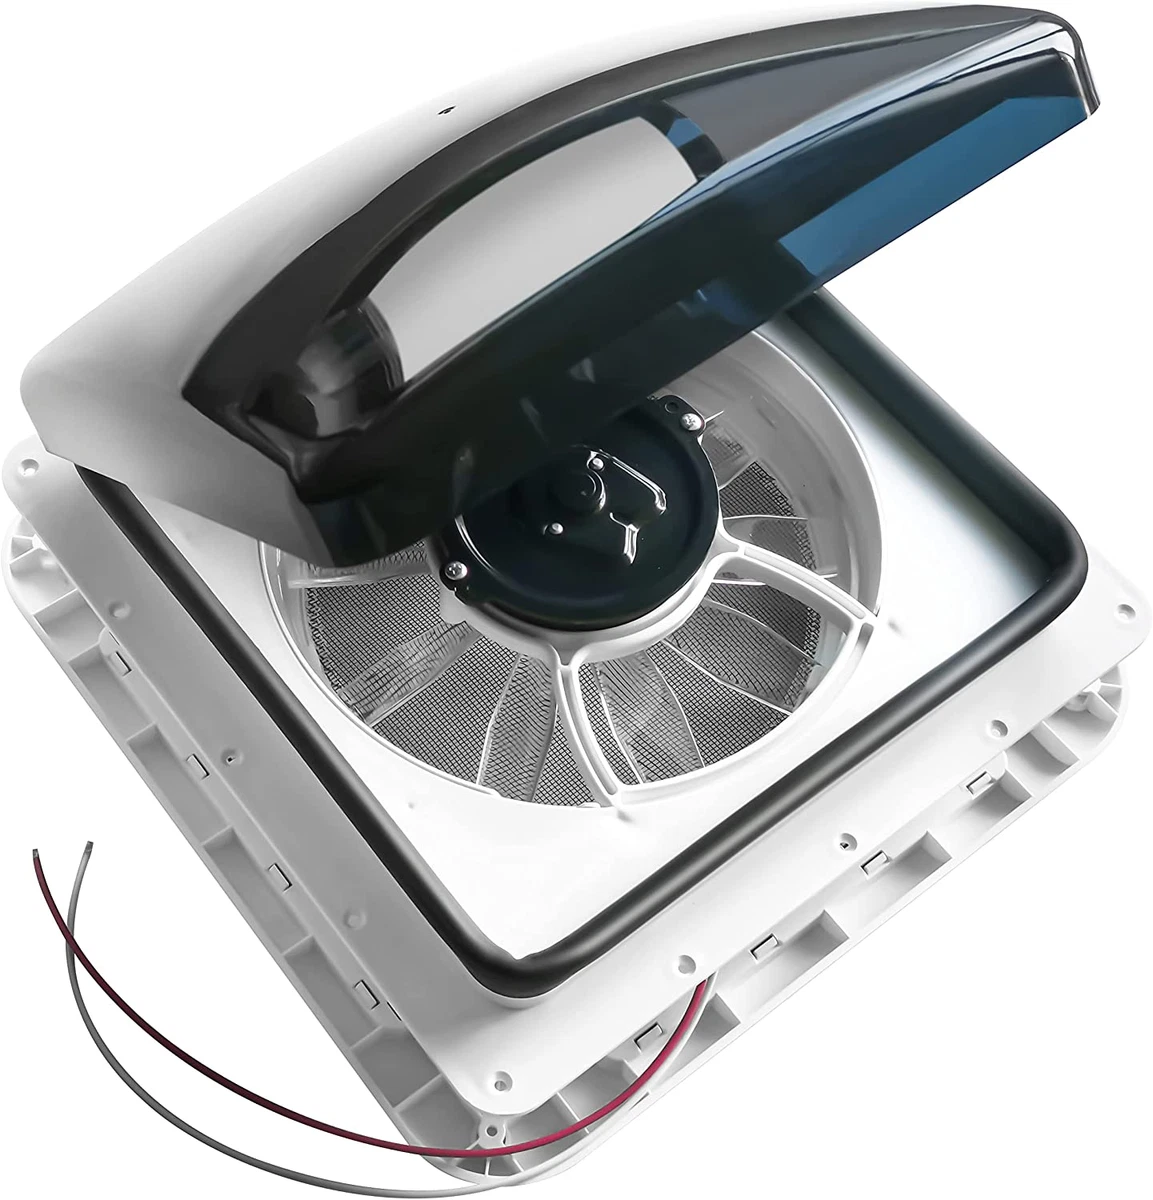
Credit: www.ebay.com
Steps For Installing A Ceiling Fan In An Rv
Installing a ceiling fan in an RV is a simple process that can greatly improve air circulation. Begin by choosing the fan’s location, securing the wiring, assembling the fan, and mounting it to the ceiling. After connecting the wires, test the fan to ensure everything is in proper working order.
Turn Off Power Supply
When installing a ceiling fan in your RV, the first step is to safely turn off the power supply to the area where you will be working. This is crucial for your safety and to prevent any electrical mishaps.
Identifying The Ceiling Fan Mounting Location
Prior to installing the ceiling fan, carefully identify the mounting location for the fan. This should be an area with sufficient support to hold the fan securely.
Assembling The Ceiling Fan Components
It’s time to assemble the components of the ceiling fan. Lay out all the parts and ensure that you have everything needed for the installation.
Mounting The Ceiling Fan Bracket
Next, mount the ceiling fan bracket securely to the chosen location. Use appropriate screws and ensure the bracket is level and stable.
Wiring The Ceiling Fan
Now it’s time to wire the ceiling fan. This involves connecting the fan’s wiring to the designated power source, following the manufacturer’s instructions carefully.
Attaching The Blades And Light Kit
Once the wiring is complete, you can proceed to attach the blades and light kit to the fan. Ensure that everything is securely fastened.
Securing The Fan Blades
After attaching the blades, it’s important to secure the fan blades tightly in place. This will prevent any wobbling or instability during operation.
Testing The Ceiling Fan
Finally, it’s time to test the ceiling fan to ensure that it is functioning properly. Turn on the power supply and check the fan’s speed and the functionality of any integrated lighting.
Safety Measures And Tips
When installing a ceiling fan in your RV, it is crucial to prioritize safety measures and adhere to essential tips to ensure a smooth and secure installation process. Below are key guidelines to follow:
Ensuring Proper Support For The Ceiling Fan
- Check the RV’s ceiling structure to ensure it can support the weight of the fan.
- Use appropriate mounting brackets and hardware for a secure installation.
- Ensure the ceiling fan is not obstructing any vents or other RV components.
Following Manufacturer’s Instructions
- Read and understand the installation guidelines provided by the fan’s manufacturer.
- Follow step-by-step instructions to avoid errors during the installation process.
- Refer to any specific requirements or recommendations outlined by the manufacturer.
Double-checking Electrical Connections
- Turn off all power sources before starting the electrical work.
- Use a voltage tester to ensure wires are not live before touching them.
- Securely connect wires according to the wiring diagram provided with the fan.
Credit: www.ebay.com
Common Mistakes To Avoid
When installing a ceiling fan in your RV, it’s important to be mindful of several common mistakes that many people make. By avoiding these errors, you can ensure a successful installation that will keep you cool and comfortable while on the road.
Overlooking Weight Limitations
One of the most crucial factors to consider when installing a ceiling fan in your RV is the weight limitations of your vehicle. It’s easy to get carried away with choosing a fan that has all the features you desire, but if it exceeds your RV’s weight capacity, you could be putting yourself in danger. Make sure to check the manufacturer’s guidelines and specifications to ensure that the ceiling fan you choose is compatible with your RV’s weight limitations.
Ignoring The Importance Of Balanced Blades
An often overlooked aspect of installing a ceiling fan in an RV is ensuring that the blades are balanced. If the blades are not properly balanced, it can lead to an annoying wobble that can be not only irritating but also potentially hazardous. To avoid this, take the time to carefully balance the blades before installing the fan. This can be done using a simple balancing kit that is often included with the fan or can be purchased separately. By taking this extra step, you can prevent unnecessary vibrations and ensure a smooth and quiet operation of your ceiling fan while traveling in your RV.
In conclusion, by avoiding these common mistakes when installing a ceiling fan in your RV, you can ensure a safe and effective cooling solution for your travels. Paying attention to weight limitations and ensuring balanced blades will result in a comfortable and enjoyable experience in your RV.
Maintenance Tips For Rv Ceiling Fans
Discover essential maintenance tips for RV ceiling fans to ensure optimal performance. Learn how to properly install a ceiling fan in an RV with easy step-by-step instructions. Keep your RV cool and comfortable with these valuable tips for maintaining and installing ceiling fans.
Regular Cleaning And Dusting
One of the most important maintenance tasks for RV ceiling fans is regular cleaning and dusting. Dust and dirt can accumulate on the fan blades and in the motor over time, which can not only affect the fan’s performance but also impact the air quality inside your RV.
To clean your ceiling fan, start by turning off the power to the fan. Use a step ladder or a sturdy chair to reach the blades. You can use a soft microfiber cloth or a feather duster to gently wipe the blades, removing any dust or debris. Make sure to clean both sides of the blades thoroughly.
For stubborn dirt, you can use a mixture of mild soap and water. Dampen a clean cloth with the soapy water and carefully wipe the blades. Avoid using harsh chemicals or abrasive cleaners as they can damage the fan’s finish.
In addition to cleaning the fan blades, don’t forget to clean the motor housing and other accessible parts. You can use a vacuum cleaner with a soft brush attachment to remove dust from these areas.
Checking For Loose Screws And Connections
Another important maintenance tip for RV ceiling fans is checking for loose screws and connections. The constant vibration and movement of the RV can cause screws and connections to become loose over time, which can affect the fan’s stability and performance.
To ensure your ceiling fan is securely mounted, start by turning off the power to the fan. Use a step ladder or a sturdy chair to reach the mounting bracket and canopy cover. Check all the screws and connections to make sure they are tight and secure. If you notice any loose screws, tighten them using a screwdriver.
Pay close attention to the wiring connections as well. Check that all the wires are properly connected and there are no loose or exposed wires. If you notice any issues with the wiring, it’s best to consult a professional electrician for assistance.
Enhancing The Efficiency Of Your Rv Ceiling Fan
Enhancing the Efficiency of Your RV Ceiling Fan
Utilizing Reversible Fan Blades
By utilizing reversible fan blades, you can optimize airflow in your RV Ceiling Fan based on the season. In summer, set the blades to push cool air down, while in winter, reverse the direction to push warm air down.
Installing A Fan Speed Controller
Adding a fan speed controller enables you to adjust the fan’s speed according to your comfort level and energy efficiency needs. This control allows for fine-tuning the airflow in your RV.
Frequently Asked Questions For How To Install A Ceiling Fan In An Rv
How Do You Install A Ceiling Fan In An Rv?
To install a ceiling fan in an RV, first, turn off the power supply. Remove the existing light fixture and mount the ceiling fan bracket using screws. Connect the wires by matching the colors and secure them with wire nuts.
Attach the fan blades, followed by the light kit if applicable. Turn on the power supply to test the fan.
Can I Install A Ceiling Fan In My Rv?
Yes, you can install a ceiling fan in your RV. Just make sure you choose a fan specifically designed for RV use and consider the weight and size of the fan to ensure it fits properly in your vehicle. Follow the installation instructions carefully and consult a professional if needed.
How Does A Ceiling Fan Work In An Rv?
A ceiling fan in an RV works by rotating its blades, creating a breeze that helps circulate air inside the vehicle. It can provide cooling during hot weather and distribute warm air during colder seasons. The fan is powered by electricity and can be controlled using a switch or remote control.
Conclusion
Transform your RV with a new ceiling fan to enhance comfort and style. By following these simple steps, you can quickly upgrade your living space on the road. Enjoy a cool breeze and improved airflow wherever your adventures take you.
Elevate your RV experience today!