RV fender skirt replacement is a straightforward process that involves removing the old damaged skirt and attaching a new one. It can be done easily with basic tools and some DIY skills.
RV fender skirt replacement is a common task for RV owners. Over time, fender skirts can become damaged due to accidents, weather conditions, or simply wear and tear. Fortunately, replacing an RV fender skirt is a relatively simple process that can be done by most RV owners with basic tools and some DIY skills.
We will guide you through the steps of RV fender skirt replacement, helping you restore the appearance and functionality of your RV. Whether you need to replace a damaged fender skirt or simply want to upgrade the look of your RV, this guide will provide you with the necessary information to get the job done. So, let’s dive in and learn how to replace your RV fender skirt efficiently and effectively.

Credit: www.levittownfordparts.com
Choosing The Right Fender Skirt
Finding the perfect replacement for your RV fender skirt is crucial. Consider factors like size, material, and compatibility to ensure you choose the right fender skirt that fits your RV perfectly.
When it comes to RV fender skirt replacement, one of the most important decisions you’ll need to make is choosing the right fender skirt. A well-chosen fender skirt not only enhances the aesthetic appeal of your RV but also provides protection against road debris, rocks, and other elements that can cause damage. In this section, we will discuss two key factors to consider when selecting the perfect fender skirt for your RV: material considerations and the choice between an exact fit or universal fit.
Material Considerations
When selecting a fender skirt for your RV, the material it is made of plays a crucial role in its overall durability and longevity. There are various options available in the market, each with its own set of advantages and disadvantages. Consider the following materials:
- Fiberglass: Fiberglass fender skirts are lightweight, durable, and resistant to UV rays and impacts. They are an excellent choice for RV owners looking for a long-lasting and low-maintenance option.
- ABS plastic: ABS plastic fender skirts are known for their affordability and good impact resistance. They are a popular choice for RV owners on a budget.
- Metal: Metal fender skirts, usually made of aluminum or steel, offer excellent strength and durability. They are ideal for RV owners looking for maximum protection.
Consider your specific needs, budget, and aesthetic preferences when choosing the material for your fender skirt.
Exact Fit Vs. Universal Fit
Another important consideration when choosing a fender skirt is whether to opt for an exact fit or a universal fit. Here’s what you need to know:
| Exact Fit | Universal Fit |
|---|---|
| Designed specifically for your RV make and model. | Fits a wide range of RVs with similar measurements. |
| Ensures a seamless and perfect fit. | May require modifications for a proper fit. |
| Easy installation process. | May require some adjustments during installation. |
If you prefer a hassle-free installation process with a guaranteed perfect fit, exact fit fender skirts are the way to go. However, if you have a unique RV model or are looking for a more cost-effective option, universal fit fender skirts can be a suitable choice.
Credit: ezsnapdirect.com
Tools And Materials Needed
Replacing the fender skirt on your RV is a task that can be easily done with the right tools and materials. Whether your old fender skirt is damaged or you just want to give your RV a fresh new look, having everything you need on hand will make the process go smoothly. In this section, we will walk you through the essential tools and materials required for a successful RV fender skirt replacement.
Common Tools Required
Before you start replacing the fender skirt on your RV, make sure you have the following tools:
- Socket wrench set: A socket wrench set will help you easily remove the bolts holding the old fender skirt in place.
- Screwdriver set: A screwdriver set will come in handy for removing any screws or fasteners that secure the fender skirt.
- Drill: A drill will be needed if you need to create new holes for the replacement fender skirt.
- Jigsaw: If your old fender skirt is not a standard shape and needs trimming, a jigsaw will help you make the necessary cuts.
- Tape measure: This essential tool will help you accurately measure the dimensions of your RV’s fender skirt.
Additional Materials For Installation
In addition to the tools listed above, you will also need the following materials:
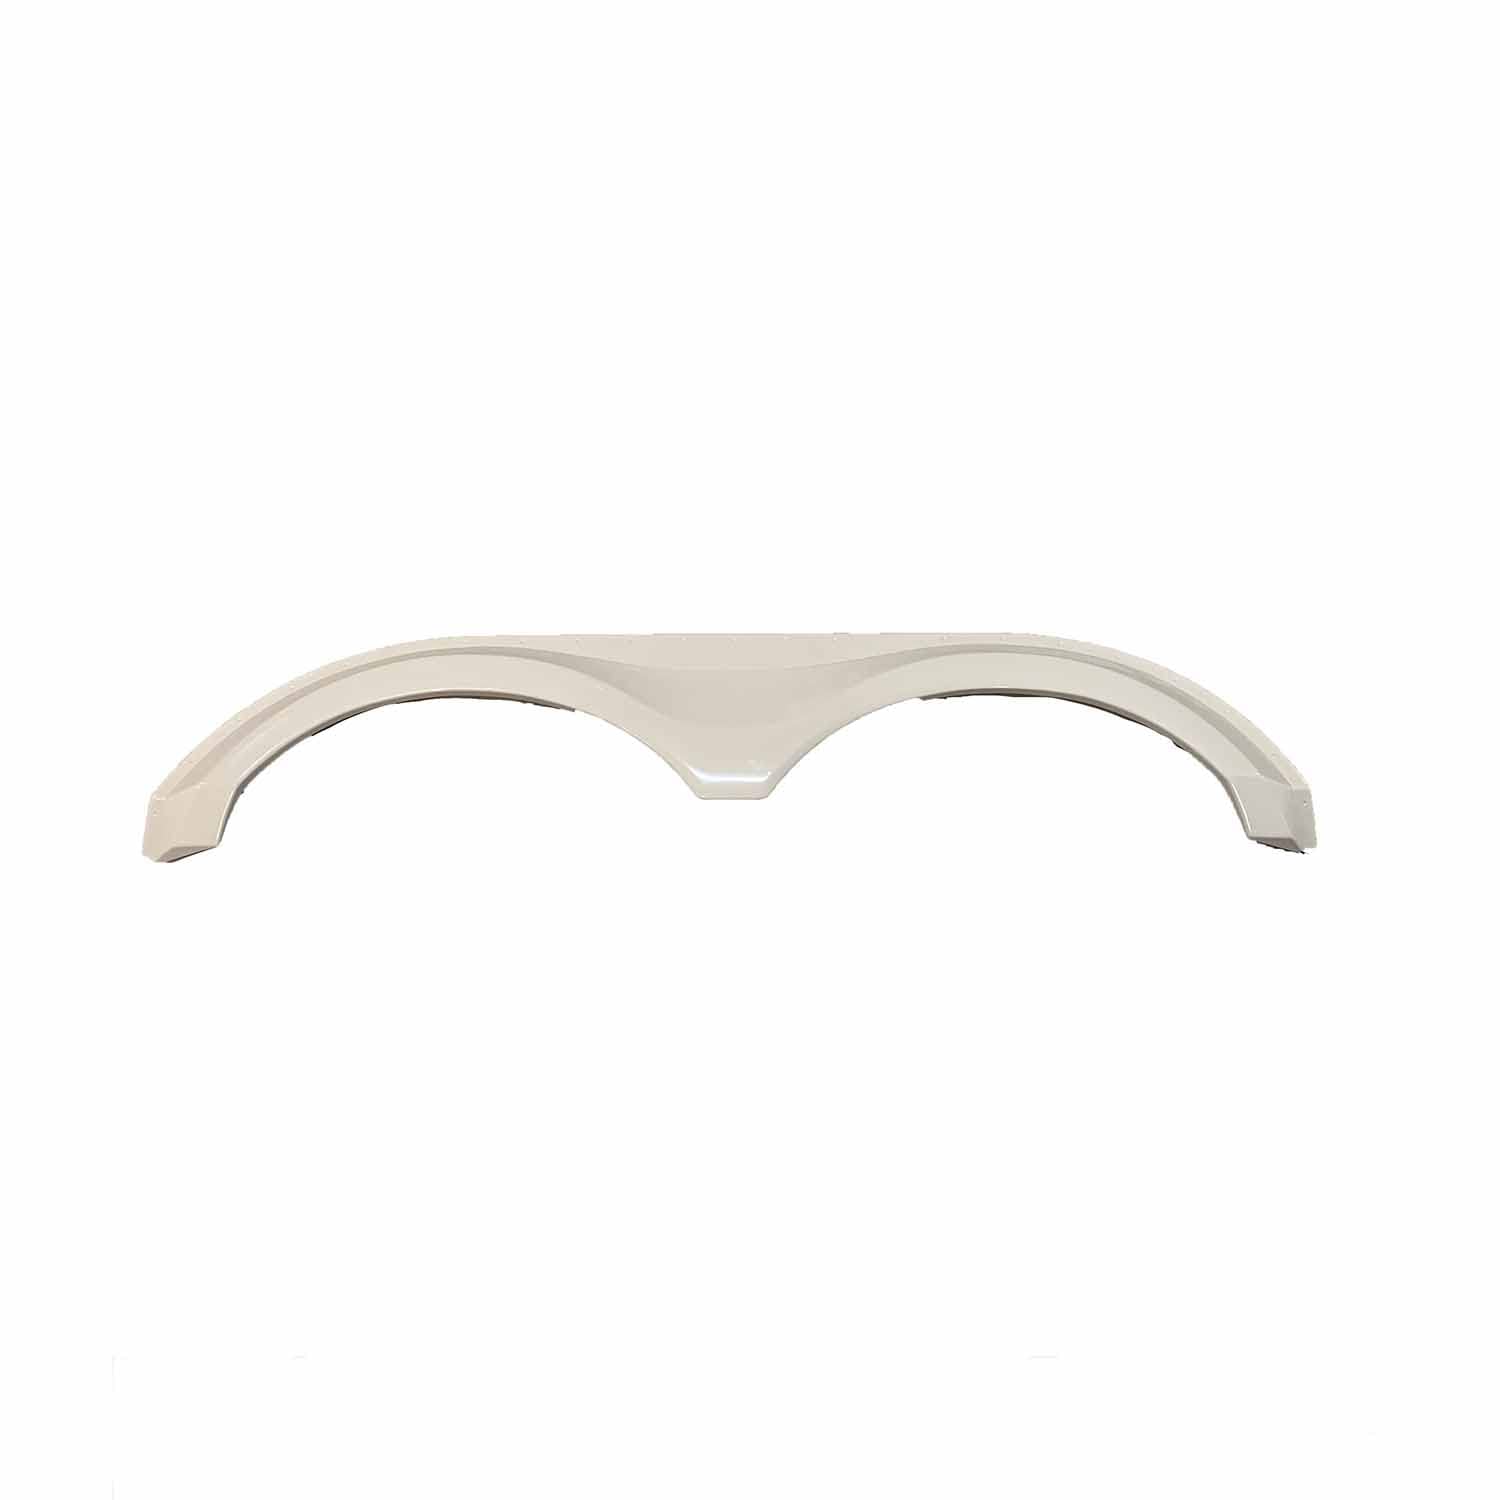
- New fender skirt: Determine the correct size and style of fender skirt for your RV before purchasing. It should match the existing fender skirt or match the overall aesthetic of your RV.
- Screws or bolts: Depending on the design of your RV, you may need screws or bolts to secure the new fender skirt in place. Make sure to choose the appropriate size and material that can withstand the elements.
- Sealant: To ensure a watertight installation, use a high-quality sealant that is specifically designed for your RV’s exterior material.
- Protective gloves: Working with tools and sharp edges can be dangerous, so it’s important to protect your hands with a pair of sturdy gloves.
- Safety glasses: Because you’ll be drilling and cutting, wearing safety glasses is crucial to protect your eyes from any flying debris.
Removing The Old Fender Skirt
Replacing an RV fender skirt may seem daunting, but the process can be straightforward when done properly. The first step is removing the old fender skirt, which involves following safety precautions and a step-by-step removal process.
Safety Precautions
- Ensure the RV is parked on a level surface.
- Wear protective gloves and safety glasses.
- Disconnect any power source near the fender skirt area.
Step-by-step Removal Process
- Locate all the screws or bolts securing the fender skirt to the RV.
- Using a screwdriver or appropriate tool, carefully remove each screw or bolt.
- Slowly detach the fender skirt from the RV body, applying gentle pressure as needed.
- Inspect the area for any additional fasteners or connections that need to be loosened.
- Once all fasteners are removed, carefully lift off the old fender skirt and set it aside.
By following these safety precautions and this step-by-step removal process, you can successfully remove the old fender skirt from your RV and prepare for the installation of a new one.
Installing The New Fender Skirt
When it’s time to install the new fender skirt, preparation and proper attachment techniques are essential. You want to ensure that the replacement is secured correctly, providing protection and a sleek look for your RV. In this section, we’ll dive into the steps for installing the new fender skirt, from preparing for installation to utilizing proper attachment techniques.
Preparing For Installation
Before replacing the fender skirt, ensure that you have the correct replacement part specific to your RV model. Double-check the measurements and confirm the compatibility before proceeding. Additionally, gather the necessary tools such as a screwdriver, drill, and screws. Clear the area around the fender to provide ample working space.
Proper Attachment Techniques
When attaching the new fender skirt, ensure that it aligns perfectly with the existing fastening points. Secure it using a drill and the appropriate screws, making sure to apply even pressure throughout the attachment process. Double-check the stability of the attachment to prevent any potential loosening during travel. Once in place, examine the new fender skirt from different angles to confirm a snug and secure fit.
Finishing Touches
Once you have successfully installed your new RV fender skirt, it’s time to add the finishing touches to ensure longevity and a polished look for your RV. This step will help you protect your investment and maintain the visual appeal of your vehicle.
Clean-up And Inspection
Before considering the installation complete, give the surrounding area a thorough clean-up. Remove any debris or remnants from the installation process. Inspect the entire area for any leftover screws, tools, or material. This step ensures safety and prevents any potential damage to your RV.
Tips For Longevity
- Regularly inspect the fender skirt for any signs of wear and tear.
- Apply protective coatings to prevent damage from UV rays and weather exposure.
- Keep the area around the fender skirt clean and free from debris to prevent abrasion.
By following these finishing touches and maintenance tips, you’ll be able to maximize the lifespan of your RV fender skirt replacement, keeping your vehicle looking its best for years to come.
Cost Comparison
Compare the costs of RV fender skirt replacement options to find the best value for your money. Determine which options provide the highest quality and durability while staying within your budget requirements.
Diy Vs. Professional Replacement
When considering RV fender skirt replacement, cost is a significant factor to take into account. Let’s compare DIY versus professional replacement to understand the savings and benefits of each approach.Savings And Benefits Of The Diy Approach
DIY replacement typically involves purchasing a replacement fender skirt and installing it yourself. The cost of the replacement skirt ranges from $50 to $150. By opting for DIY, you can potentially save hundreds of dollars on labor costs.
Credit: rvinspiration.com
Frequently Asked Questions On Rv Fender Skirt Replacement
What Are The Common Materials Used For Rv Fender Skirts?
RV fender skirts are commonly made of ABS plastic, fiberglass, or metal. These materials are chosen for their durability, weather resistance, and ease of maintenance. The choice of material depends on the specific requirements of the RV and the preferences of the owner.
How Can I Measure My Rv Fender Skirts For Replacement?
To measure your RV fender skirts for replacement, start by taking accurate measurements of the length, width, and depth. It’s important to measure both the exterior and interior dimensions for an exact fit. Additionally, consider taking photographs to provide a visual reference for the replacement process.
What Should I Consider When Choosing A Replacement Rv Fender Skirt?
When choosing a replacement RV fender skirt, consider factors such as material, size, and design. Ensure the new skirt matches the original specifications of your RV to guarantee a perfect fit. Additionally, look for a reputable manufacturer or supplier to ensure high-quality replacement parts.
How Can I Install A New Rv Fender Skirt?
To install a new RV fender skirt, start by removing the old skirt and cleaning the mounting area. Align the new skirt carefully and secure it in place using suitable fasteners. Follow the manufacturer’s guidelines for specific installation instructions. Proper installation is crucial for a secure and long-lasting fit.
Conclusion
Upgrade your RV with a new fender skirt replacement. Enhance aesthetics and protection effortlessly. Choose quality materials for long-lasting durability. The perfect finishing touch to your RV makeover. Find the ideal replacement today and get ready to hit the road in style!