The process of RV slide out floor replacement involves removing the damaged flooring and replacing it with new flooring. This can be done by carefully dismantling the slide out unit, removing the old floor, and installing the new floor, ensuring a secure fit.
It is essential to follow proper safety measures and consult manufacturer guidelines to ensure a successful and durable replacement. Additionally, it is recommended to seek professional assistance if you are not confident in your abilities to complete the task. Now, let’s dive deeper into the details of RV slide out floor replacement and understand the steps involved in this process.

Credit: www.amazon.com
Assessment
Before embarking on an RV slide out floor replacement project, it is crucial to assess the extent of damage and determine the right replacement material. By properly assessing the situation, you can ensure that the new floor not only meets your needs but also withstands the rigors of RV travel and camping.
Determining The Extent Of Damage
Inspecting your RV slide out floor is the first step in assessing the damage. Look for signs of water damage, decay, or structural issues that may compromise the integrity of the floor. Pay close attention to areas that are prone to leaks, such as the edges, corners, and seams.
If the damage is confined to a small area, you may be able to address it with minor repairs. However, if the damage is widespread or severe, a complete floor replacement might be necessary. Assessing the extent of damage is crucial in determining the best course of action.
Choosing The Right Replacement Material
When it comes to RV slide out floor replacement, choosing the right material is essential for durability and longevity. Consider factors such as weight, moisture resistance, and ease of installation. Two popular options for replacement flooring are plywood and composite materials.
Plywood is a traditional choice that offers excellent strength and stability. It is readily available and easy to work with. However, it is important to select marine-grade plywood that is specifically designed for outdoor use to ensure it can withstand the elements.
Composite materials, such as fiberglass-reinforced plastic (FRP) or high-density polyethylene (HDPE), provide superior moisture resistance and durability. They are lightweight, easy to clean, and resistant to rot and decay. These materials offer a long lifespan and can be a great investment for RV owners.
| Material | Pros | Cons |
|---|---|---|
| Plywood | Good strength and stability | May require sealing and ongoing maintenance |
| Composite Materials (FRP or HDPE) | Superior moisture resistance, durability, and longevity | Higher initial cost |
Ultimately, the choice between plywood and composite materials depends on your specific needs, budget, and desired level of maintenance. Consulting with a reputable RV flooring specialist can help you make an informed decision and ensure the replacement material is suitable for your RV slide out floor.
Preparation
Before embarking on an RV slide out floor replacement project, proper preparation is crucial to ensure a smooth and efficient process. This step-by-step guide will walk you through the necessary preparations, from gathering the required tools and materials, to securing the work area.
Gathering Necessary Tools And Materials
Before you start replacing the slide out floor of your RV, it is important to gather all the necessary tools and materials. This will save you valuable time and effort during the project itself. Here’s a list of essential items you will need:
| Tools | Materials |
|---|---|
|
|
Securing The Work Area
Creating a safe and organized work area is essential to avoid accidents and ensure a smooth workflow. Follow these steps to secure the area:
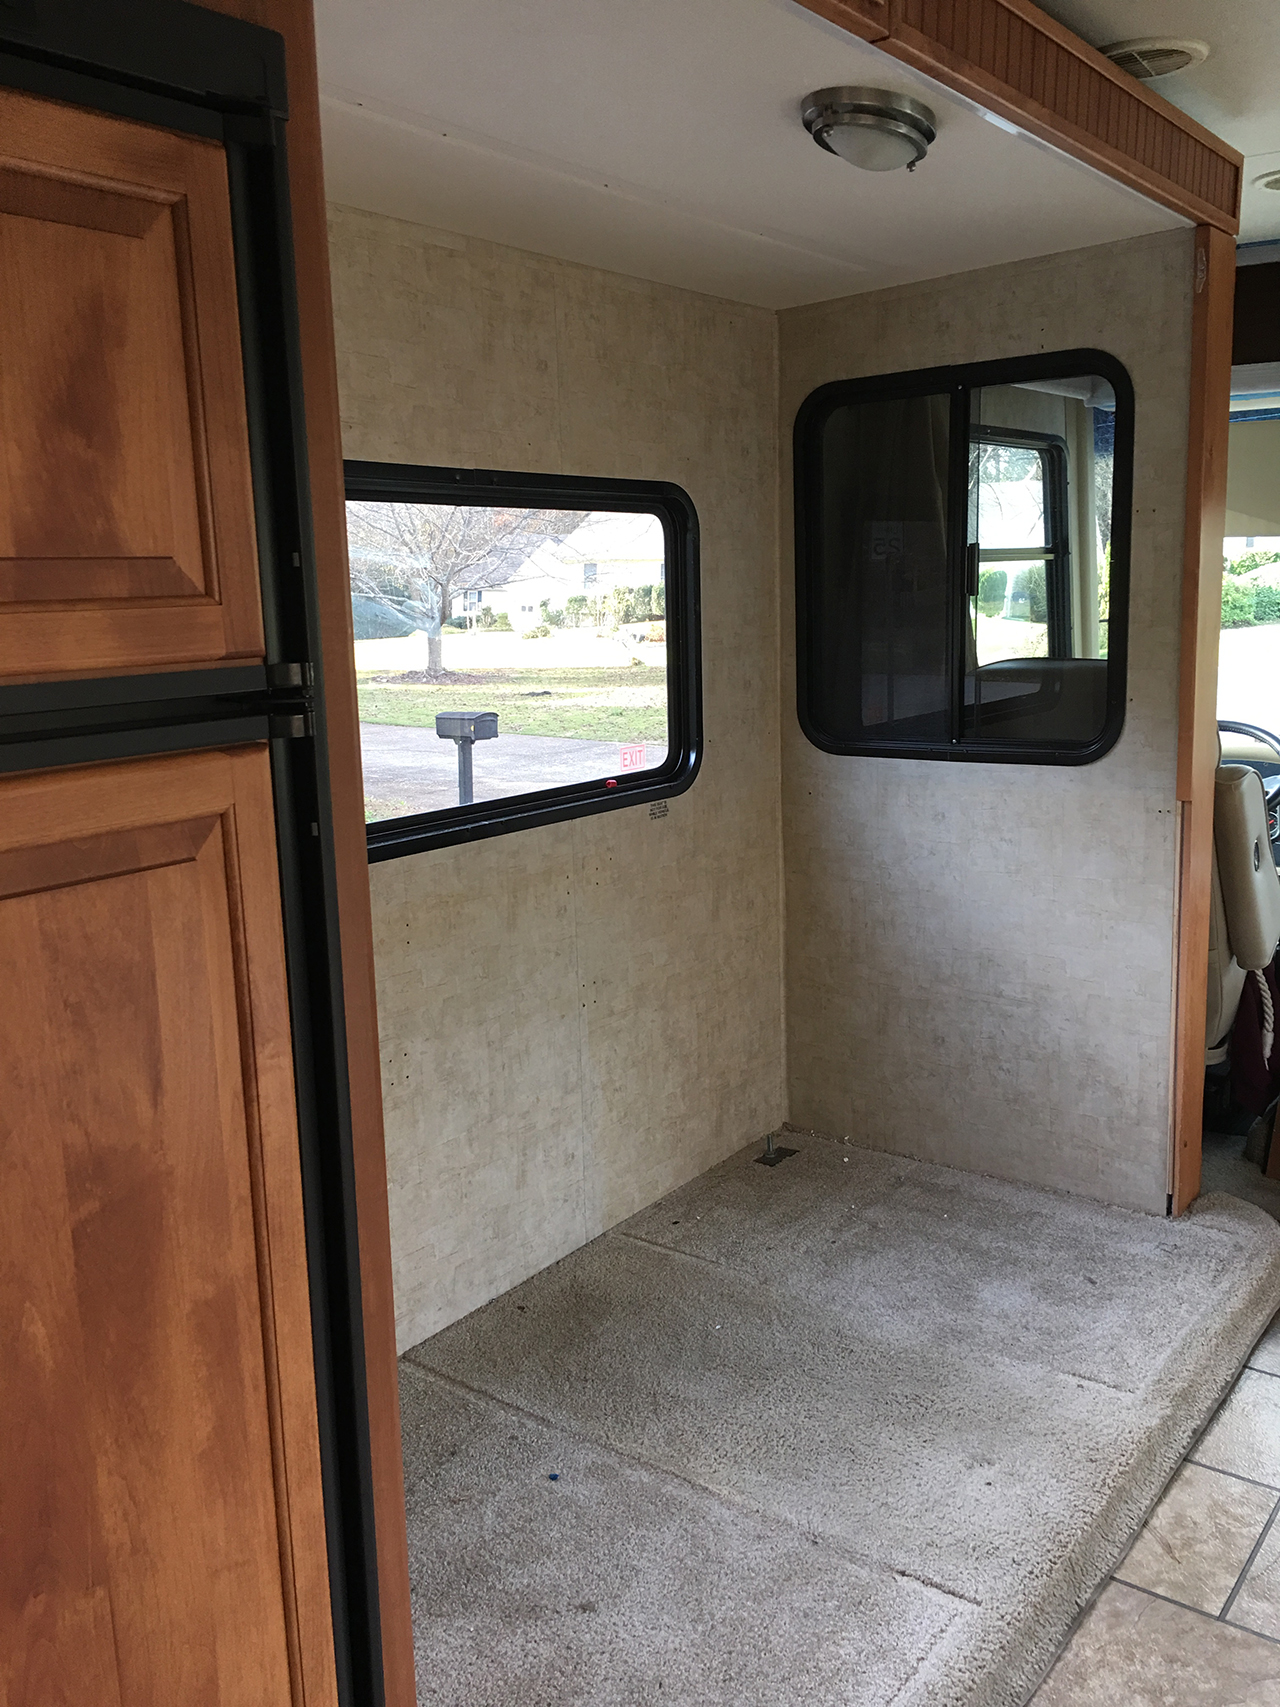
- Clear out any furniture or personal belongings from the slide out area.
- Ensure proper lighting by using additional lighting sources if needed.
- Use protective drop cloths or plastic sheets to cover surrounding areas and prevent damage.
- Keep children and pets away from the work area to guarantee their safety.
- Turn off any electrical power sources that might be connected to the slide out.
- Place caution signs or tape around the work area to warn others.
By adhering to these preparations, you’ll be ready to tackle the RV slide out floor replacement with confidence and efficiency. Stay tuned for the next steps in our comprehensive guide!
Removal
When it comes to RV slide out floor replacement, the removal process is a crucial step that requires careful attention to detail. In order to ensure that the new floor is installed properly, the existing damaged floor must be safely and completely removed. This involves disassembling the slide out and then removing the damaged floor. Below, we will outline the necessary steps involved in this removal process, ensuring that your RV slide out floor replacement project is executed smoothly and effectively.
Disassembling The Slide Out
The first step in the removal process is disassembling the slide out. This typically involves removing any trim, molding, or other fixtures that may obstruct access to the damaged floor. It’s important to carefully document and label each removed component to ensure proper reassembly later on. Additionally, take note of any electrical or mechanical connections that need to be disconnected before proceeding with the removal process.
Removing The Damaged Floor
Once the slide out is disassembled, you can proceed to remove the damaged floor. This will likely involve the use of tools such as a jigsaw, circular saw, or reciprocating saw to carefully cut out and remove the damaged floor. It’s crucial to exercise caution during this step to avoid causing further damage to the RV structure. As you remove the damaged floor, be sure to inspect the underlying framework for any signs of water damage or wear that may need to be addressed before installing the new floor.
Installation
Installation: To successfully replace an RV slide-out floor, the installation process involves preparing the subfloor and installing the new floor.
Preparing The Subfloor:
- Clear the area of any obstructions and clean the subfloor.
- Inspect for any damage and repair as necessary.
- Ensure the subfloor is level and properly aligned.
Installing The New Floor:
- Measure and cut the new flooring material to fit the slide-out area.
- Apply adhesive or secure the new floor using screws or nails.
- Allow proper drying time for the adhesive to set, if used.
Finishing Touches
After completing the RV slide-out floor replacement process, the final steps involve addressing sealing, securing the new floor, and reassembling the slide-out.
Sealing And Securing The New Floor
Ensure to carefully apply a waterproof sealant around the edges of the new floor to prevent any moisture leakage.
Use appropriate adhesive to secure the floor in place, ensuring a sturdy and durable installation.
Reassembling The Slide Out
Reattach all components in the reverse order of disassembly, verifying proper alignment and functionality at each step.
- Tighten all screws and bolts securely to avoid any potential shifting while in transit.
- Confirm that the slide-out mechanism operates smoothly without any obstructions or abnormalities.

Credit: thehappyglamper.co
Testing And Inspection
RV slide-out floors are essential components that require regular testing and inspection to ensure their proper functionality and preempt any potential issues. The testing and inspection process involves thorough checks and evaluation to guarantee the safety and longevity of your RV slide-out floor.
Checking For Proper Functionality
When conducting a test for proper functionality, it is crucial to ensure that the RV slide-out floor extends and retracts smoothly without any jerking or sticking. This process involves operating the slide-out multiple times to identify any irregularities in its motion. Additionally, the alignment of the slide-out with the RV’s body should be inspected to prevent misalignment issues that can lead to floor damage.
Inspecting For Any Issues
Thorough inspection is necessary to identify any existing or potential issues in the slide-out floor. Start by examining the floor for any signs of wear, such as cracks, warping, or water damage. Furthermore, check the slide-out mechanism for loose or damaged components that could compromise its stability and functionality. Pay close attention to the edges and corners of the floor, as these areas are prone to wear and tear.
Maintenance Tips
When it comes to maintaining your RV slide out floor, regular inspections and preventative maintenance measures are crucial. By staying proactive and implementing these tips, you can keep your slide out floor in great condition for years to come.
Ensure Regular Inspections
Regular inspections are essential for identifying any potential issues with your RV slide out floor. By inspecting it periodically, you can catch small problems before they become major repairs. Here are a few key areas to focus on during your inspections:
- Check for any signs of water damage, such as discoloration or soft spots on the floor.
- Look for any cracks or gaps in the floor surface.
- Inspect the seals around the slide out for signs of wear or damage.
- Ensure the slide out is operating smoothly and is properly aligned.
If you notice any issues during your inspection, it’s important to address them promptly to prevent further damage. Whether it’s a small crack or a faulty seal, taking care of these problems early on can save you time and money in the long run.
Preventative Maintenance Measures
In addition to regular inspections, there are several preventative maintenance measures you can take to keep your RV slide out floor in optimal condition. Here are some tips:
- Keep the slide out area clean and free from debris. This includes regularly sweeping or vacuuming the floor to prevent scratching or damage.
- Apply a protective coating to the floor surface to help prevent wear and tear.
- Regularly lubricate the slide out mechanism to ensure smooth operation.
- Inspect and maintain the rubber seals around the slide out to prevent leaks and water damage.
- Consider using slide out supports to reduce stress on the floor and frame.
By implementing these preventative measures, you can extend the lifespan of your RV slide out floor and minimize the need for major repairs.
Credit: mountainmodernlife.com
Frequently Asked Questions On Rv Slide Out Floor Replacement
How To Determine If My Rv Slide Out Floor Needs Replacement?
Inspect for water damage, soft spots, or sagging. Listen for creaking sounds during extension/retraction. Consult a technician for evaluation.
What Are Common Causes Of Rv Slide Out Floor Damage?
Water leaks, moisture accumulation, improper installation, wear and tear over time, lack of maintenance.
What Materials Are Suitable For Rv Slide Out Floor Replacement?
Marine-grade plywood, composite panels, vinyl flooring, durable materials resistant to moisture and wear.
Can I Replace The Rv Slide Out Floor Myself?
It’s recommended to hire a professional for precise installation. DIY may void warranty, require specialized skills and tools.
Conclusion
Replacing the floor of your RV slide out can rejuvenate your living space and provide a safer environment. By following the steps outlined in this blog post and seeking professional assistance if needed, you can successfully complete this project. With a new floor, you can look forward to enjoying your RV adventures with renewed comfort and peace of mind.