Replacing the Styrofoam flooring in your RV is a crucial task for maintaining its structural integrity and insulation. We will provide you with a concise and accurate guide on how to carry out this replacement effectively.
When it comes to RV Styrofoam floor replacement, it is important to follow a precise process to ensure a successful outcome. The following steps will guide you through this undertaking: First, remove the existing flooring and insulation carefully, ensuring that all the damaged or deteriorated Styrofoam is completely taken out.
Next, measure and cut the replacement Styrofoam to fit the RV’s floor dimensions. Install and secure the new Styrofoam, ensuring a snug fit with no gaps. Finally, reinstall the flooring material of your choice over the new Styrofoam to complete the replacement process. By following these steps, you can have a solid and well-insulated floor in your RV.
Types Of Flooring Materials
Choosing the right flooring material for your RV is crucial, as it not only affects the overall look of your RV but also plays a significant role in its durability and functionality. With a wide range of options available, it can be overwhelming to decide which flooring material is the best fit for your RV. In this blog post, we will explore four popular types of flooring materials that are commonly used in RVs: Vinyl Flooring, Laminate Flooring, Carpet Tiles, and Engineered Wood Flooring.
Vinyl Flooring
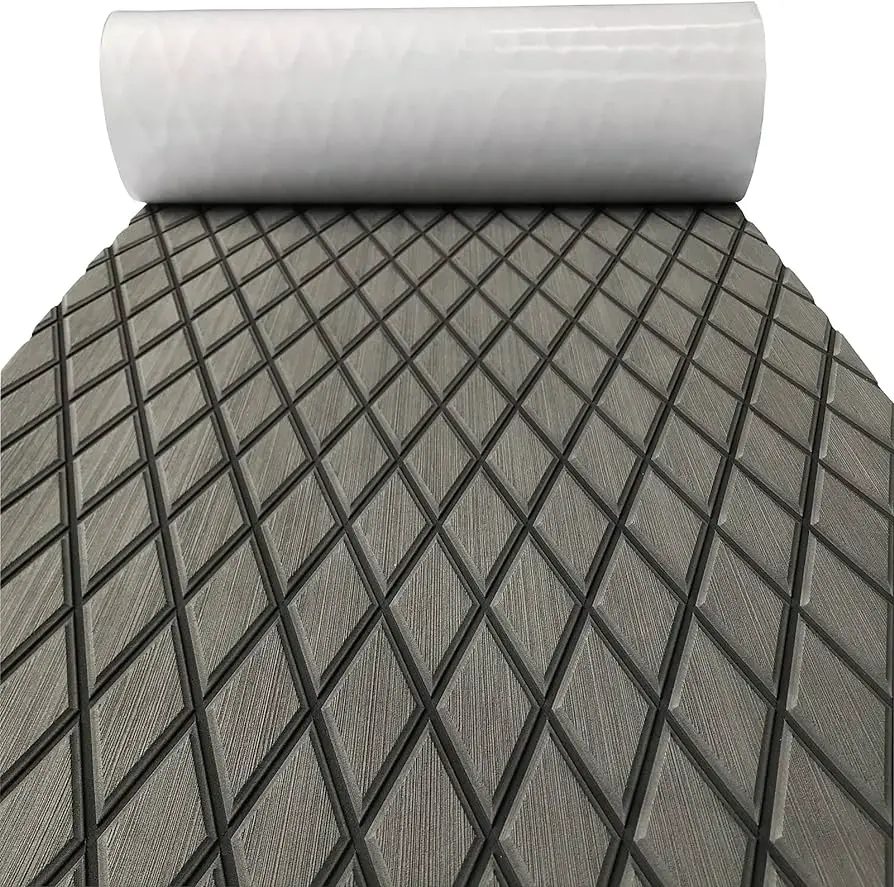
Vinyl flooring is a practical and cost-effective choice for RV owners. It is a highly durable and water-resistant material, making it ideal for areas prone to moisture, such as bathrooms and kitchens. Vinyl flooring is available in a variety of styles and designs, including wood, stone, and tile patterns, allowing you to achieve the desired aesthetic for your RV. Additionally, vinyl flooring is easy to clean and maintain, requiring minimal effort to keep it looking its best.
Laminate Flooring
Laminate flooring is another popular option for RV owners. It offers the look of hardwood or stone flooring at a fraction of the cost. Laminate flooring is scratch-resistant, making it ideal for high-traffic areas like the main living space. It is also easy to install, as many laminate floors come in interlocking planks that can be quickly assembled. With its wide range of colors and finishes, laminate flooring can add a touch of elegance to your RV while providing durability and ease of maintenance.
Carpet Tiles
If you prefer a softer and more comfortable flooring option, carpet tiles may be the right choice for your RV. Carpet tiles are easy to install and replace, making them convenient for DIY enthusiasts. They offer excellent insulation, reducing both noise and temperature fluctuations inside the RV. Carpet tiles also come in a wide range of colors and patterns, allowing you to create a cozy and personalized interior space. Keep in mind that while carpet tiles provide comfort, they may require more maintenance to keep them clean and free from stains.
Engineered Wood Flooring
For those who desire the elegance and warmth of real wood, engineered wood flooring is a great solution for RVs. This type of flooring is made of multiple layers of wood veneer glued together, making it more stable and resistant to moisture than solid wood flooring. Engineered wood flooring can withstand the demands of travel and changing temperatures without warping or shrinking. It adds a touch of luxury to your RV while providing the durability needed for life on the road.

Credit: topolocfrt.com
Preparation Steps
Before you start replacing the styrofoam floor in your RV, it’s important to take a few necessary preparation steps. These steps will ensure a smooth and successful floor replacement project. In this section, we will discuss three essential preparation steps: assessing the current flooring condition, measuring and calculating the required materials, and clearing out the RV interior.
Assessing The Current Flooring Condition
The first step in replacing the styrofoam floor of your RV is to assess the current condition of the flooring. This will help you determine the extent of the damage and the necessary repairs. Take a close look at the floor to identify any signs of water damage, mold, or rot. Whether it’s a small area or the entire floor, understanding the existing condition will guide your next steps.
Measuring And Calculating The Required Materials
Measuring and calculating the required materials is a crucial step in planning a successful RV styrofoam floor replacement. Measure the dimensions of your RV floor accurately to determine the amount of styrofoam insulation you’ll need. Additionally, calculate the required amount of plywood, adhesive, and any other materials you plan to use for the replacement. It’s essential to have these calculations ready before you start purchasing the materials.
Clearing Out The Rv Interior
Before you begin the floor replacement process, it’s essential to clear out the interior of your RV. Remove all furniture, appliances, and belongings to create a clean and empty space. This will not only make the replacement process easier and quicker but also protect your belongings from any potential damage. Keep a checklist to ensure you don’t overlook anything while clearing out the RV interior.
Removal Of Styrofoam Flooring
When it’s time to replace the styrofoam flooring in your RV, the removal process is the first step you’ll need to tackle. Proper removal of the styrofoam flooring is crucial to ensure a smooth and successful replacement. Following the right steps and taking safety precautions are essential during this process. Here’s a guide on how to remove styrofoam flooring in an RV.
Tools Required For Removal
- Safety gloves
- Protective eyewear
- Utility knife
- Flathead screwdriver
- Pry bar
- Trash bags for disposal
Safety Precautions While Removing Styrofoam Flooring
- Wear safety gloves and protective eyewear to prevent injuries.
- Work in a well-ventilated area to avoid inhaling harmful particles.
- Be cautious when using sharp tools to avoid accidents.
Step-by-step Removal Process
- Put on safety gloves and protective eyewear before starting the removal process.
- Use a utility knife to carefully cut through the styrofoam flooring along the edges.
- Insert a flathead screwdriver or pry bar underneath the cut section to lift and pry the flooring away.
- Continue this process until all the styrofoam flooring is removed from the RV.
- Collect the removed styrofoam in trash bags for proper disposal.

Credit: www.amazon.com
Choosing The Right Replacement Flooring
Introductory paragraphChoosing the right replacement flooring for your RV is crucial for ensuring longevity and style. When undertaking an RV Styrofoam Floor Replacement, it’s essential to consider various factors such as durability, ease of installation, and aesthetic appeal. The flooring you choose should be able to withstand the rigors of travel while still providing a comfortable and visually appealing living space. In this guide, we’ll explore the considerations for RV flooring selection and highlight the best flooring options for durability and style.
H3 headingsConsiderations For Rv Flooring Selection
Before choosing a replacement flooring for your RV, it’s important to consider several factors:
- Durability: The flooring material should be able to withstand heavy foot traffic and potential moisture exposure.
- Weight: Since RVs have weight restrictions, it’s crucial to select lightweight flooring materials.
- Maintenance: Opt for flooring that is easy to clean and maintain, especially when traveling frequently.
- Aesthetic Appeal: The chosen flooring should complement the overall interior design of your RV and create a welcoming atmosphere.
- Installation: Consider the ease of installation, especially if you plan to replace the flooring yourself.
Best Flooring Options For Durability And Style
When it comes to durability and style, some of the best flooring options for RVs include:
- Luxury Vinyl Planks (LVP): LVP provides the aesthetic appeal of hardwood or stone flooring but with added durability and water resistance, making it an ideal choice for RVs.
- Laminate Flooring: This cost-effective option offers a wide variety of styles and is relatively easy to install, making it a popular choice for RV owners.
- Engineered Hardwood: While slightly heavier than other options, engineered hardwood flooring brings a touch of elegance and natural beauty to an RV interior.
- Tile Flooring: Porcelain or ceramic tiles are excellent choices for areas prone to moisture, such as bathrooms and kitchens, due to their durability and water resistance.
Installation Process
When it comes to revamping your RV, replacing the styrofoam floor is a crucial step in ensuring a durable and aesthetically pleasing outcome. The installation process involves meticulous preparation of the subfloor, followed by the actual installation of the new flooring material. Here, we’ll guide you through the essential steps and provide valuable tips for achieving a professional finish.
Preparing The Subfloor
Before commencing with the installation of the new flooring material, it is imperative to prepare the subfloor adequately. This involves removing the existing flooring, ensuring the surface is clean and level, and addressing any underlying issues such as water damage or rot.
- Remove the old flooring material carefully to prevent damage to the subfloor.
- Thoroughly clean the subfloor to remove any dirt, adhesive, or debris.
- Inspect the subfloor for any signs of water damage or rot, and address these issues before proceeding.
- Use a leveling compound to ensure the subfloor is completely even and free from any bumps or dips.
Installing The New Flooring Material
Once the subfloor is properly prepared, the installation of the new flooring material can begin. This process will vary depending on the type of flooring chosen, whether it be hardwood, laminate, vinyl, or carpet.
- Measure and cut the new flooring material to fit the dimensions of the RV interior.
- Start laying the flooring from the center of the RV, working towards the edges.
- Follow the manufacturer’s instructions for the specific type of flooring being installed.
- Secure the flooring in place using the recommended adhesive or fastening method.
Tips For A Professional Finish
To achieve a professional-looking finish, attention to detail is key. Here are some tips to ensure a flawless result:
| Tip | Description |
| 1. Acclimatize the Flooring | Allow the new flooring material to acclimatize to the RV interior for the recommended time period before installation. |
| 2. Use Quality Underlayment | Invest in high-quality underlayment to enhance the durability and comfort of the new flooring. |
| 3. Seamlessly Transition Between Areas | Ensure a seamless transition between different areas of the RV by carefully planning the layout and installation. |
| 4. Consider Professional Installation | If you’re not comfortable with DIY installation, consider hiring a professional to ensure a flawless outcome. |
Maintenance Tips
Maintain your RV’s styrofoam floor with these helpful tips to ensure a successful replacement without any hassle. Keep it in good condition and extend its lifespan for many adventures ahead.
Maintenance Tips: Cleaning and Caring for Different Types of Flooring Materials When cleaning your RV’s styrofoam floor, use mild soap and water. Avoid harsh chemicals that can damage the material. Preventing Water Damage and Moisture Issues Inspect seals and caulking regularly. Seal any potential entry points to keep moisture out.
Credit: topolocfrt.com
Frequently Asked Questions Of Rv Styrofoam Floor Replacement
What Is The Process For Replacing Rv Styrofoam Flooring?
Replacing RV Styrofoam flooring involves removing the old flooring, measuring and cutting the new material, and installing it properly. It’s crucial to ensure a smooth surface and secure fit for optimal results.
What Are The Benefits Of Using Styrofoam For Rv Flooring?
Styrofoam provides insulation, soundproofing, and is lightweight. It also offers resistance to moisture and mold, making it an ideal choice for RV flooring.
How To Ensure The Longevity Of Rv Styrofoam Flooring?
Proper maintenance and regular inspections are key to maintaining the longevity of RV Styrofoam flooring. This includes cleaning, preventing water damage, and addressing any issues promptly.
Can I Install Rv Styrofoam Flooring Myself Or Should I Hire A Professional?
While it’s possible to install RV Styrofoam flooring on your own, hiring a professional can ensure a precise and efficient installation, especially for those with limited experience in floor replacement projects.
Conclusion
When considering a Styrofoam floor replacement for your RV, quality and durability are key. Trust a professional to ensure safety and longevity. Explore various options for materials and installation techniques to find the best fit for your needs. Upgrade your RV with a reliable floor solution today.