Looking for a reliable 12 volt heat tape for your RV? We’ve got you covered.
12 volt heat tape for RVs is an essential tool for preventing frozen pipes and tanks during cold weather. It efficiently provides warmth and protection, ensuring a comfortable and safe experience for RV enthusiasts. With its low-voltage design, it’s an energy-efficient solution that’s easy to install and is compatible with various RV models.
Whether you’re a full-time RVer or an occasional traveler, investing in a 12 volt heat tape can prolong the lifespan of your RV’s plumbing system and prevent costly damages. Let’s explore the benefits and features of this handy tool, so you can make an informed decision for your next adventure.
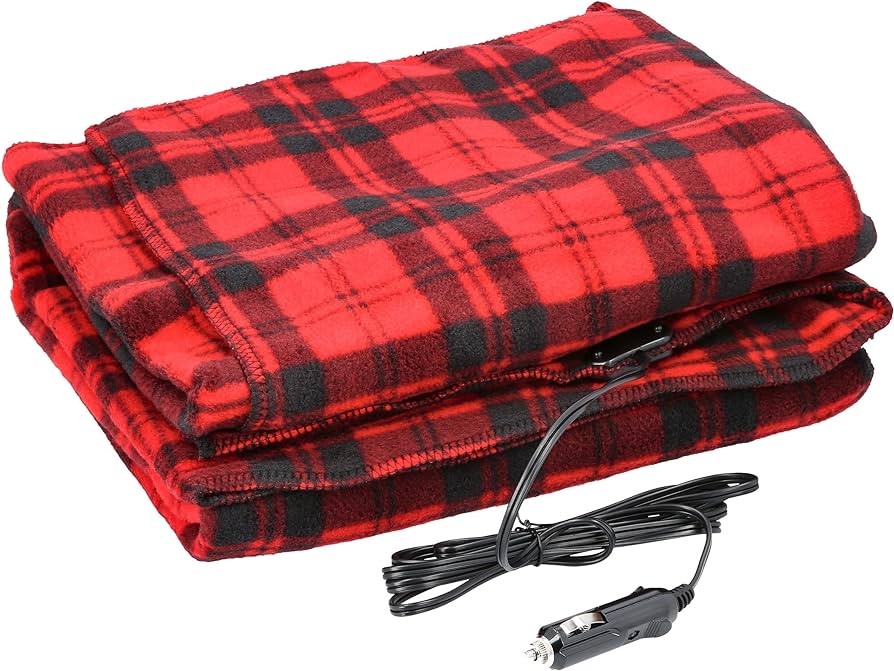

Credit: www.envirodesignproducts.com
- Benefits Of 12 Volt Heat Tape
- Choosing The Right 12 Volt Heat Tape
- Installing 12 Volt Heat Tape In Your Rv
- Maintaining And Monitoring Your 12 Volt Heat Tape
- Safety Precautions For Using 12 Volt Heat Tape
- Additional Tips For Winterizing Your Rv
- Alternative Heating Options For Rvs
- Frequently Asked Questions On 12 Volt Heat Tape For Rv
- Conclusion
Benefits Of 12 Volt Heat Tape
12 Volt heat tape for RVs offers a myriad of benefits that make it an essential tool for winter camping adventures. From energy efficiency to preventing pipe freezing and keeping the interior warm, this heating solution is a game-changer for RV enthusiasts.
Energy Efficient Heating Solution
12 Volt heat tape is designed to efficiently utilize power, ensuring that it consumes minimal energy while effectively providing warmth. Its low power consumption not only saves on energy costs but also extends the life of your RV’s battery.
Prevents Pipe Freezing
With 12 Volt heat tape, you can bid farewell to the worries of frozen pipes during chilly winter travels. The tape’s consistent and regulated warmth prevents water lines from freezing, safeguarding your RV’s plumbing system from potential damage.
Keeps Rv Interior Warm
The 12 Volt heat tape not only protects the exterior plumbing but also ensures a cozy interior environment. By maintaining a warm temperature within the RV, it offers a comfortable and inviting atmosphere for occupants, making winter camping more enjoyable.
Choosing The Right 12 Volt Heat Tape
When it comes to selecting the right 12 Volt heat tape for your RV, there are key considerations that can ensure you choose the most suitable option for your needs. From length and width considerations to thermostat control options and installation requirements, understanding these factors can help you make an informed decision.
Length And Width Considerations
When choosing 12 Volt heat tape for your RV, it’s crucial to consider the appropriate length and width for your specific application. The tape length should match the area you intend to protect, while the width should provide sufficient coverage for the vulnerable parts of your RV.
Thermostat Control Options
Thermostat control options play a vital role in the effectiveness and energy efficiency of 12 Volt heat tape. Having a thermostat control enables you to regulate the temperature and prevent overheating, ensuring optimal performance while conserving energy.
Installation Requirements
Installing 12 Volt heat tape for your RV requires careful attention to certain requirements. Proper insulation, secure fastening, and protection against moisture are essential for the efficient and safe operation of the heat tape. Ensuring these installation requirements are met will contribute to the longevity and effectiveness of the heat tape.
Installing 12 Volt Heat Tape In Your Rv
Protecting your RV from freezing temperatures is crucial to ensure that your pipes and water systems remain intact. One effective solution is to install 12 Volt heat tape, a simple yet efficient way to keep your RV’s pipes warm and prevent them from freezing. In this post, we will guide you through the process of installing 12 Volt heat tape in your RV, including assessing areas at risk of freezing, preparing pipes for installation, and proper heat tape placement.
Assessing Areas At Risk Of Freezing
Before you begin the installation process, it is important to assess the areas at risk of freezing in your RV. These areas typically include exposed water pipes located in exterior walls, unheated compartments, and underbelly areas. Take note of these vulnerable spots to ensure that you cover all bases when installing the heat tape.
Preparing Pipes For Installation
Once you have identified the areas at risk, it is time to prepare your pipes for the heat tape installation. Start by cleaning and drying the pipes thoroughly. Remove any dirt, debris, or grease using a mild cleaning solution and a cloth. This step is crucial to ensure proper adhesion of the heat tape later on.
Next, measure the length of the exposed pipe and cut the heat tape accordingly. Make sure to leave a few extra inches at each end for connections. If you have multiple pipes in close proximity, you can use foam pipe insulation to separate them and prevent heat loss.
Proper Heat Tape Placement
Now that your pipes are ready, it’s time to install the heat tape. To do this, follow the manufacturer’s instructions carefully. Ensure that the heat tape is evenly wrapped around the exposed pipe, making sure to overlap each wrap slightly to prevent any gaps. Use electrical tape or zip ties to secure the heat tape in place at regular intervals.
Once the heat tape is securely fastened, plug it into a 12 Volt power source. You can connect it to your RV’s electrical system or use a dedicated 12 Volt power outlet if available. Make sure to test the heat tape to confirm that it is functioning properly before closing up any compartments or covering the pipes.
Remember, while the heat tape provides excellent protection against freezing, it is not a substitute for insulating your RV properly. Adding insulation to exposed pipes and compartments will further enhance your RV’s protection against extreme temperatures.
By following these simple steps, you can effectively install 12 Volt heat tape in your RV and safeguard your water systems during the colder months. Take the necessary precautions to protect your RV and enjoy worry-free travel, even in freezing conditions.
Maintaining And Monitoring Your 12 Volt Heat Tape
To ensure your 12-volt heat tape for RV operates efficiently, regular maintenance and monitoring are essential. Inspect the tape for any signs of wear and tear, and ensure all connections are secure. Additionally, check for any damage to the insulation and keep the tape clean to maximize its performance.
Maintaining and monitoring your 12 Volt heat tape is crucial for ensuring efficient performance and preventing potential issues. Regular inspection and cleaning, testing for proper functionality, and troubleshooting common issues are essential steps to keep your RV’s heat tape in top condition.Regular Inspection And Cleaning
Regularly inspect the heat tape for any visible damage or wear. Clean the heat tape with a soft cloth to remove dirt and debris.Testing For Proper Functionality
Test the heat tape periodically to ensure it is providing adequate warmth. Check for consistent heat distribution along the entire length of the tape.Troubleshooting Common Issues
If the heat tape is not heating properly, check the power source and connections. Inspect for any kinks or breaks in the tape that may be causing malfunctions.Safety Precautions For Using 12 Volt Heat Tape
When using 12 Volt Heat Tape for RVs, it is essential to prioritize safety precautions to prevent accidents and damage. By following these guidelines, you can ensure a safe and effective use of heat tape in your recreational vehicle.
Proper Electrical Connections
- Check for any frayed wires or damaged connections before installation.
- Securely connect the heat tape to a dedicated 12-volt power source.
- Avoid overloading the electrical circuit to prevent short circuits.
Fire Prevention Measures
- Keep flammable materials away from the heat tape to reduce fire risks.
- Regularly inspect the heat tape for signs of overheating or melting.
- Have a fire extinguisher nearby as a precautionary measure.
Avoiding Damage To Heat Tape
| Action | Precaution |
|---|---|
| Bending the heat tape | Do not bend the tape sharply to avoid damage. |
| Constant exposure to sunlight | Protect the tape from direct sunlight to prolong its lifespan. |
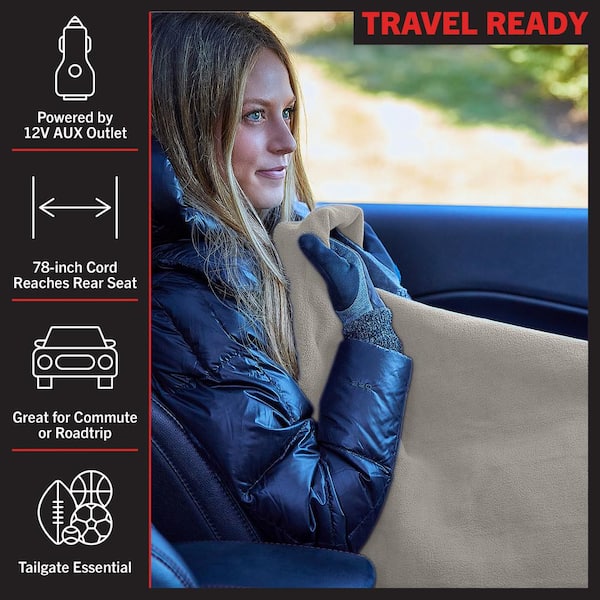
Credit: www.homedepot.com
Additional Tips For Winterizing Your Rv
When it comes to winterizing your RV, there are a few additional tips that can help you ensure warmth and comfort during the colder months. By taking the time to insulate windows and doors, seal drafts and leaks, and use skirting or windbreaks, you can protect your RV from the harsh winter elements. These simple steps can make a big difference in keeping your RV cozy throughout the winter.
Insulating Windows And Doors
Insulating windows and doors is crucial for maintaining a warm interior in your RV. The cold air can easily seep in through gaps and cracks, causing drafts and making the heating system less efficient. To prevent this, you can apply weatherstripping or use thermal curtains to add an extra layer of insulation. Additionally, covering windows with insulating film can help reduce heat loss and keep your RV cozy.
Sealing Drafts And Leaks
A major factor in heat loss is drafts and leaks. These can occur in various areas of your RV, such as around vents, pipes, and electrical outlets. To seal these areas, you can use sealants, caulking, or foam insulation. It’s important to inspect all the potential problem areas and seal any gaps or cracks you find. By doing so, you’ll prevent cold air from entering and warm air from escaping, ensuring maximum comfort in your RV.
Using Skirting Or Windbreaks
Skirting or windbreaks are effective methods to protect your RV from freezing temperatures and gusty winds. Skirting refers to the installation of a barrier around the bottom of your RV. This barrier can be made of materials like insulated fabric or rigid foam board, and it helps trap heat underneath your RV, preventing cold air from circulating. Similarly, setting up windbreaks around your RV can provide added protection against icy gusts. Erecting a windbreak made of plywood, fabric, or snow fencing can shield your RV from harsh winds, making it easier to maintain a comfortable temperature inside.
Alternative Heating Options For Rvs
When it comes to keeping your RV warm during the colder months, it’s essential to consider alternative heating options. While traditional RV heating systems are effective, they may not always be sufficient for extreme cold temperatures. Exploring alternative heating options can provide additional warmth and comfort, ensuring a cozy living space even in the harshest weather conditions.
Propane Heating Systems
Propane heating systems are a popular choice for RVs, offering reliable and efficient heat. These systems utilize propane gas to generate warmth and are often integrated into the RV’s existing infrastructure. Propane heaters are ideal for off-grid living, providing consistent heat without relying on electrical power. They are compact, making them suitable for RVs with limited space. As a convenient and cost-effective heating solution, propane heaters are a valuable addition to any RV during cold weather.
Electric Space Heaters
Electric space heaters offer a convenient and portable heating solution for RVs. These heaters come in various sizes and designs, allowing for customization based on the RV’s layout and heating needs. With their ability to plug into electrical outlets, electric space heaters are highly versatile and easy to use. While they require access to electricity, they efficiently distribute heat throughout the RV, ensuring a warm and comfortable living space. Electric space heaters are a practical heating option for RV owners seeking additional warmth during chilly nights.
Wood Burning Stoves
For a more traditional and rustic heating option, wood burning stoves offer a charming way to heat an RV. These stoves provide a cozy ambiance and reliable heat through the burning of wood, creating a nostalgic and inviting atmosphere. While they require maintenance and proper ventilation, wood burning stoves are a sustainable and aesthetically pleasing heating choice for RV enthusiasts looking to add a touch of warmth and character to their mobile lifestyle.

Credit: www.amazon.com
Frequently Asked Questions On 12 Volt Heat Tape For Rv
Is 12 Volt Heat Tape Suitable For Rvs?
Yes, 12 volt heat tape is ideal for RVs as it provides efficient heat distribution, preventing freezing pipes and tanks during cold weather. It’s easy to install and safe for use in RV settings.
How Does 12 Volt Heat Tape Work?
12 volt heat tape works by generating constant low-level heat to prevent freezing in pipes and tanks. It activates automatically in cold temperatures, ensuring continuous warmth without the risk of overheating. Simply wrap it around vulnerable areas for effective protection.
Can 12 Volt Heat Tape Be Used Outdoors?
Yes, 12 volt heat tape is designed for outdoor use, making it perfect for RVs, campers, and other outdoor applications. Its weather-resistant properties ensure reliable performance in various conditions, keeping your pipes and tanks protected in any environment.
Conclusion
Keeping your RV warm and comfortable during chilly weather is essential for a pleasant travel experience. With the 12 volt heat tape for RV, you can easily protect your water pipes from freezing and ensure a steady flow of hot water.
This heat tape is designed to be easy to install and energy-efficient, making it a practical and cost-effective solution for RV owners. Don’t let freezing temperatures ruin your trip – invest in a 12 volt heat tape and enjoy worry-free travels.