To install a mantel, first attach it to a cleat securely fastened to the wall for stability. Consider pre-drilling and using lag bolts for a secure connection.
Installing a mantel adds a stylish focal point to your fireplace and can enhance the overall look and feel of your living space. Whether you’re aiming for a classic or modern aesthetic, a mantel installation can elevate the ambiance of your room.
Follow these steps to complete the installation process efficiently and safely. With the right tools and techniques, you can easily showcase your mantel and create a cozy atmosphere in your home.
Credit: rightonbracket.com
Choosing The Right Mantel
When it comes to choosing the right mantel and installing it, consider the material, dimensions, and style to harmonize with your fireplace and room décor. Ensure to securely attach the mantel using proper tools and techniques for safety and stability.
Professional help may be necessary for heavier installations or unique wall materials.
Different Types Of Mantels
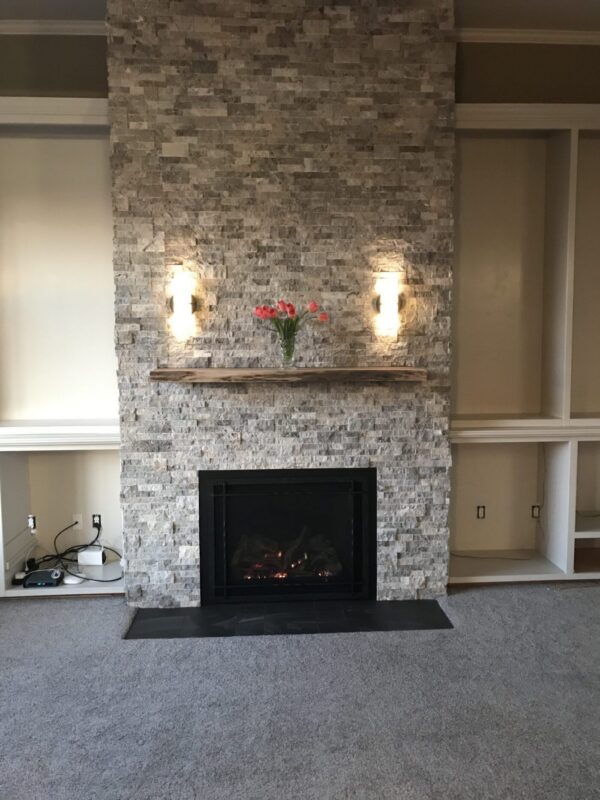
A mantel can be crafted from various materials such as wood, stone, or metal, each adding a unique touch to your fireplace.
- Wood Mantels: Bring warmth and traditional charm to your space.
- Stone Mantels: Offer a rustic and earthy feel, perfect for a cozy ambiance.
- Metal Mantels: Infuse a modern and sleek look to complement contemporary decor.
Measuring And Sizing Guidelines
Correct measurements are crucial to ensure your mantel fits seamlessly into your space, enhancing its visual appeal.
- Measure the width of your fireplace opening for a mantel that complements the proportions of the room.
- Determine the suitable height of the mantel to maintain balance with the fireplace and surrounding elements.
- Consider the depth of the mantel to accommodate decorative items without overcrowding the space.
Credit: lindseyputzier.com
Tools And Materials Needed
Installing a mantel can add charm and character to your living space. Before you begin, ensure you have the necessary tools and materials ready.
Essential Tools
- Drill: For creating pilot holes.
- Screwdriver: To secure screws.
- Level: Ensures the mantel is straight.
- Tape Measure: For accurate measurements.
Required Materials
- Mantel: Select the style that complements your fireplace.
- Mounting Brackets: Provides support for the mantel.
- Wood Screws: Secures the mantel in place.
- Construction Adhesive: Ensures a strong bond.
Preparing The Installation Area
Prior to installing a mantel, ensure the installation area is clean and free of debris. Secure the backing board and mark the mounting spots on the wall for easy placement.
Locating Studs
Before installing a mantel, it’s crucial to locate the studs behind the wall. Use a stud finder to identify the position of the studs. This step ensures that the mantel is securely attached to the wall, providing adequate support and stability.
Wall Surface Preparation
Once the studs have been located, the next step is to prepare the wall surface for the installation of the mantel. This involves ensuring that the wall is clean and free from any debris or obstructions that could interfere with the installation process.
Additionally, it’s essential to assess the condition of the wall surface to determine if any repairs or modifications are required before proceeding with the installation. Addressing any issues at this stage can prevent complications later on and ensure a smooth installation process.
Installing The Mantel
In the process of installing a mantel, necessary steps include drilling pilot holes, setting the anchoring rods, and marking the spot for drilling. To ensure stability and durability, attaching the mantel to a cleat on the wall is recommended for a secure fit.
Attaching The Backer Board
Before installing your mantel, it’s important to secure a backer board to the wall. The backer board serves as a solid foundation for the mantel and ensures stability. To attach the backer board:
- Measure and cut a piece of plywood or MDF to fit the width and height of the desired mantel.
- Locate the studs in the wall using a stud finder.
- Using a drill, screw the backer board directly into the studs, ensuring it is level and secure.
Securing The Mantel
Once the backer board is in place, it’s time to secure the mantel. Follow these steps:
- Measure and mark the desired height for your mantel on the wall.
- Hold the mantel against the wall, aligning it with the marked height.
- Using a level, ensure the mantel is straight.
- Once level, drill pilot holes through the mantel into the backer board.
- Insert screws through the pilot holes and into the backer board, securing the mantel in place.
By attaching a backer board and securely fastening the mantel, you can ensure that your mantel installation is firm and reliable. Enjoy your beautifully installed mantel!
Finishing Touches
When it comes to installing a mantel, the finishing touches can really make a difference in the overall look and feel of your fireplace. After the installation process is complete, it’s time to focus on the details that will truly enhance the aesthetic appeal of your mantel. In this section, we will discuss two important aspects of finishing touches – Painting or Staining, and Decorating the Mantel.
Painting Or Staining
Now that your mantel is securely installed, it’s time to decide whether you want to paint or stain it. Painting the mantel allows for a clean and modern look, enhancing the overall ambiance of the fireplace. On the other hand, staining is a great option if you want to showcase the natural beauty of the wood. Whether you decide to paint or stain, here are a few tips to keep in mind:
- Start by cleaning the surface of your mantel to ensure a smooth application of paint or stain.
- Use a high-quality primer if you choose to paint, as it will help the paint adhere better and give a more even finish.
- If staining, make sure to apply an even coat and follow the manufacturer’s instructions for drying time.
- Consider using a sealant on top of the paint or stain to protect the finish and prolong the mantel’s lifespan.
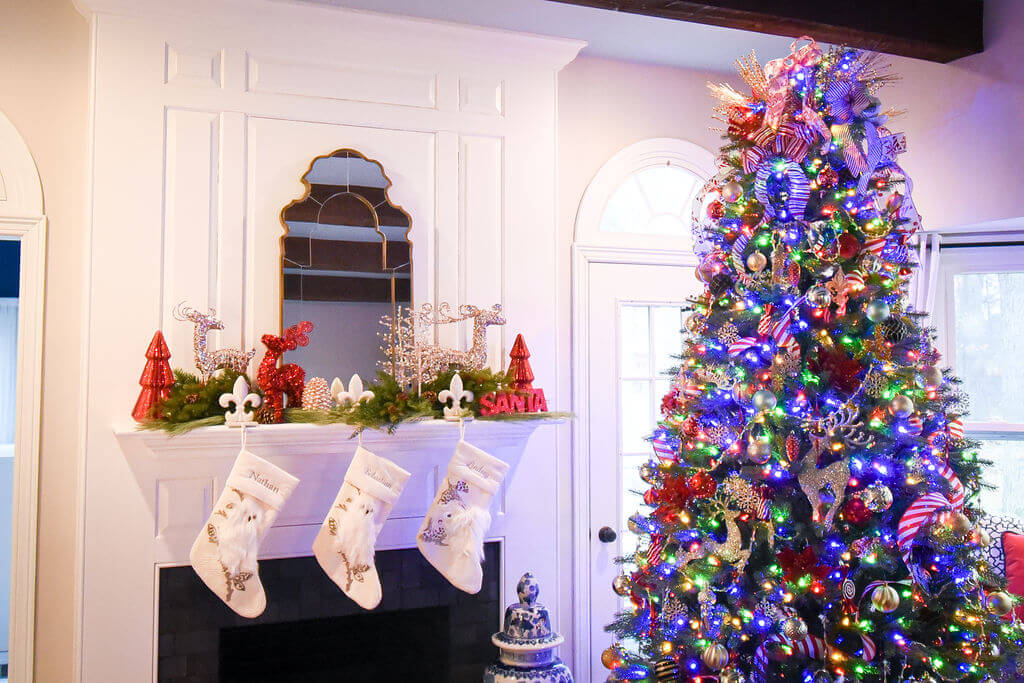
Decorating The Mantel
Once your mantel is painted or stained to your liking, it’s time to bring it to life with some decorative elements. Here are a few ideas to inspire you:
- Start by adding a focal point such as a mirror, piece of artwork, or a decorative clock above the mantel.
- Flank the focal point with matching or complementary pieces like candle holders, vases, or small sculptures.
- Add texture and interest by incorporating greenery or flowers in vases or decorative planters.
- Showcase your personal style by displaying cherished photographs, books, or other sentimental items.
- Consider incorporating seasonal decorations to change the look of your mantel throughout the year.
Remember, the key to decorating your mantel is creating a cohesive and visually appealing display. Experiment with different arrangements and elements until you achieve the desired look.

Credit: homemadelovely.com
Frequently Asked Questions For How To Install A Mantel
How Are Wood Mantels Attached?
Wood mantels are typically attached using a cleat, a piece of lumber securely fastened to the wall, for sturdiness. Another method is to mount the mantel to a sheet of plywood that slightly exceeds the mantel’s dimensions, then attach the plywood to the wall using screws or lags.
How Do You Attach A Beam Mantel To The Wall?
To attach a beam mantel to the wall, you can use the “Slide Over Bolts” method. First, locate and mark the studs behind the wall. Then, have a helper support the mantel while you mark the location of support rods on the back of the beam.
Apply construction adhesive into the holes, then slide the mantel into place. Securely fasten it to the wall using screws or lags.
How Do You Secure A Mantel To The Wall?
To secure a mantel to the wall, follow these steps: 1. Pre-drill screw holes in the mantel and backer board. 2. Use lag bolts to attach the backer board to the wall. 3. Temporarily clamp the mantel to the backer board.
4. Screw lag bolts through the backer board and into the mantel. 5. Ensure the mantel is securely fastened before enjoying it.
How Do You Install A Heavy Wooden Mantel On Drywall?
To install a heavy wooden mantel on drywall, first locate the studs, then use a cleat to secure the mantel to the wall for added support. Additionally, pre-drill screw holes in the backer board and the mantel, and use lag bolts to attach the mantel to the wall.
Q: How Are Wood Mantels Attached?
A: Wood mantels can be attached by toenailing them directly to the wall or by using a cleat, which is a piece of lumber securely fastened to the wall for added stability.
Conclusion
To sum up, installing a mantel is a manageable DIY project that can enhance the aesthetic appeal of any fireplace. By following the proper steps, such as drilling pilot holes, using anchoring rods, and setting the mantle securely, you can achieve a professional-looking result.
Furthermore, securing the mantel to a cleat or a sheet of plywood ensures long-lasting stability. With the right tools and techniques, you can transform your fireplace into a stunning focal point in your home.