If your RV AC is not blowing hard, check the air filters for dirt and clean them. Also, inspect the vents for blockages.
Having a properly functioning air conditioning system in your RV is essential for staying comfortable during your travels. However, when you notice that your RV AC is not blowing air as strongly as it should, it can be frustrating. In this guide, we will explore common reasons why your RV AC may not be blowing hard and provide solutions to help you troubleshoot and resolve the issue.
By understanding the potential causes and following our tips, you can enjoy a cool and comfortable interior in your RV, no matter where your adventures take you.

1. Clean The Air Filters Regularly
One crucial step in maintaining the efficiency of your RV AC system is to clean the air filters regularly. Dirty filters can impede airflow and lead to the AC not blowing hard as it should. Follow these simple steps to ensure your RV AC operates at its best:
1.1 Check And Remove Debris
- Inspect the air filters for any debris or accumulation.
- Gently tap the filters to dislodge any dust or dirt outside the RV.
- Use a soft brush to clean off stubborn debris.
1.2 Wash Or Replace Filters
- Remove filters according to the manufacturer’s instructions.
- Wash filters with mild soap and water, if reusable, and let them air dry completely.
- If filters are non-reusable or heavily soiled, consider replacing them with a new set.
By regularly cleaning or replacing your air filters, you can ensure proper airflow and maximize the cooling efficiency of your RV AC unit.
2. Ensure Proper Ventilation
Start of the section: 2. Ensure Proper Ventilation2. Ensure Proper Ventilation
2.1 Clear Obstructions Around Vents
Inspect and remove any blockages or debris affecting air flow around vents.
Check for dirt, mud, or leaves clogging the vents and clean them out.
Ensure the vent coverings are clear and unobstructed to enable proper airflow.
2.2 Increase Ventilation Within Rv
Open windows or doors to allow for better air circulation inside the RV.
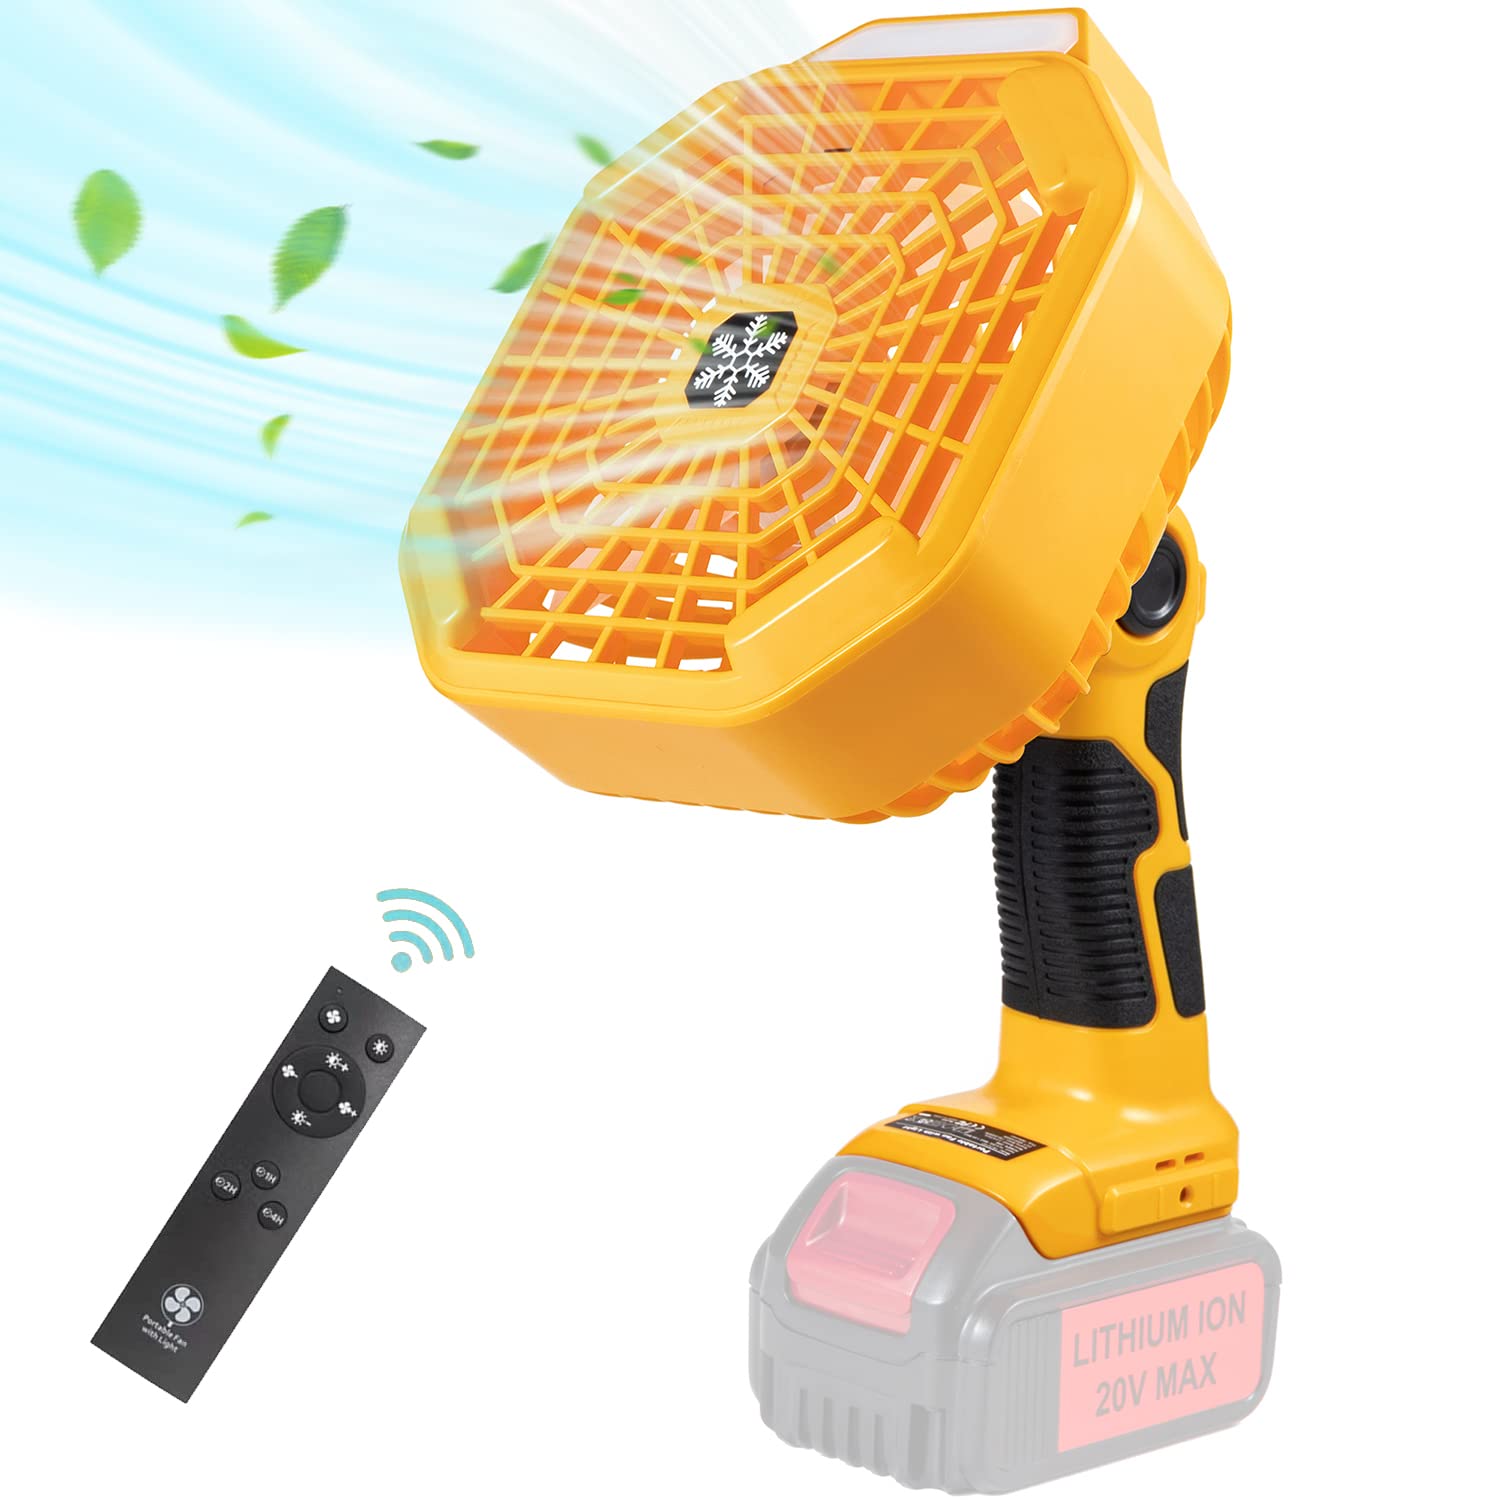
Consider using fans strategically to improve the overall ventilation.
- Position fans near vents or windows to help with air movement.
- Install a ventilation fan in the RV ceiling for efficient airflow.
3. Check For Leaks In Ductwork
If you’ve noticed that your RV AC is not blowing as hard as it should, it’s important to address the issue promptly. One potential culprit could be leaks in the ductwork. Any cracks or holes in the ducts can cause a loss of airflow, resulting in poor cooling efficiency and uncomfortable temperatures inside your RV. To ensure your AC system is operating at its best, follow these steps to inspect and seal any leaks in the ductwork.
3.1 Inspect Ducts For Cracks Or Holes
The first step in resolving this issue is to thoroughly inspect the ducts for any cracks or holes. Start by visually examining all visible sections of the ductwork, paying close attention to corners, connections, and areas where the ducts may have come loose. Look out for any signs of damage or gaps in the ducts that could allow air to escape.
If you suspect that there may be leaks present but they are not visible, you can perform a simple test. Turn on your RV’s AC system and run your hand along the ducts, feeling for any air escaping through small openings. Be sure to take note of any areas where you feel cool air blowing out, as this could indicate a leak nearby.
3.2 Seal Any Leaks
Once you’ve identified any cracks or holes in the ductwork, it’s time to seal them to prevent further air loss. There are a few different ways you can accomplish this:
- Use duct tape: For smaller cracks or holes, you can use duct tape to cover the openings and create a seal. Make sure to wrap the tape tightly around the damaged area, ensuring it fully covers the hole or crack.
- Apply foil tape: Foil tape is a great option for sealing larger gaps or longer cracks. This type of tape is specifically designed for HVAC applications and provides a strong seal against air leaks. Simply cut a piece of foil tape to the appropriate size and firmly press it onto the damaged area.
- Consider mastic sealant: If you have larger holes or multiple leaks to address, mastic sealant may be the best solution. This thick paste can be applied with a brush or spreader to cover the damaged areas completely. Allow the mastic sealant to dry thoroughly before using your RV’s AC system.
Regardless of the method you choose, it’s important to ensure a secure and airtight seal. This will help restore proper airflow and improve the performance of your RV’s AC system.
4. Keep Windows And Doors Sealed
4. Keep Windows and Doors Sealed
4.1 Check For Gaps Or Drafts
When trying to improve the performance of your RV AC system, it’s essential to ensure that your windows and doors are properly sealed. You can start by conducting a thorough inspection to check for any gaps or drafts that might be letting in outside air and affecting the cooling efficiency.
4.2 Use Weatherstripping Or Caulking
If you discover any gaps or drafts around your windows and doors, taking action to seal them can greatly enhance the effectiveness of your RV AC unit. You can use weatherstripping or caulking to seal any gaps and prevent unnecessary airflow, helping to maintain a more consistent and efficient cooling experience inside your recreational vehicle.
5. Clean The Evaporator Coils
When your RV AC unit is not blowing hard, one of the key maintenance tasks to consider is cleaning the evaporator coils. Over time, dust, dirt, and debris can build up on the coils, reducing the efficiency of the unit and leading to decreased airflow. By maintaining clean evaporator coils, you can ensure that your RV AC system operates at its best and provides optimal cooling performance. Here are some steps to help you clean the evaporator coils effectively:
5.1 Remove Dust And Debris
To start the cleaning process, carefully remove the cover of the evaporator coil. Use a soft-bristled brush or a vacuum cleaner with a brush attachment to gently remove any visible dust and debris from the coils. Ensure that you are thorough in this process to eliminate as much buildup as possible.
5.2 Use A Coil Cleaner
After removing the visible debris, it’s important to use a specialized coil cleaner to thoroughly clean the evaporator coils. These cleaners are designed to penetrate the coils and dissolve any stubborn dirt or grime that may be clinging to the surface. Follow the manufacturer’s instructions carefully when applying the coil cleaner to achieve the best results.

Credit: www.amazon.com
6. Check The Fan Motor And Blades
One common issue with RV air conditioners not blowing hard enough is a problem with the fan motor or blades. The fan motor is responsible for circulating air throughout the system, and if it is malfunctioning, it can result in weak airflow. Similarly, dirty or damaged fan blades can restrict the movement of air, leading to poor cooling performance. In this section, we will explore two troubleshooting steps to address these potential issues: lubricating the fan motor and cleaning or replacing fan blades.
6.1 Lubricate The Fan Motor
Over time, the fan motor in your RV air conditioner can become dry and worn, causing it to operate less efficiently. Lubricating the motor can help restore its performance and improve airflow. Here’s how you can do it:
- Start by turning off the power supply to the air conditioner to ensure safety.
- Locate the fan motor, usually positioned behind the unit’s access panel.
- Remove the access panel and inspect the motor for any visible signs of damage or excessive dirt.
- If the motor appears to be in good condition, apply a few drops of lubricating oil to the motor’s oil ports. Refer to the manufacturer’s guidelines for the appropriate type of lubricant to use.
- Turn the fan blades by hand a few times to distribute the oil evenly and ensure smooth operation.
- Replace the access panel and restore power to the air conditioner.
6.2 Clean Or Replace Fan Blades
Accumulated dirt, debris, or bent fan blades can hinder the airflow of your RV air conditioner. Cleaning or replacing the fan blades can help resolve this issue. Follow these steps:
- Switch off the power to the air conditioner to avoid any electrical accidents.
- Unscrew the access panel and carefully remove it.
- Inspect the fan blades for any visible dirt, debris, or damage. If the blades are dirty, use a soft brush or cloth to gently clean them.
- If the fan blades are bent or damaged beyond repair, it is recommended to replace them entirely for optimal performance.
- Securely reattach the access panel and restore power to the air conditioner.
If the steps outlined above do not resolve the issue and your RV air conditioner continues to blow weakly, it may be necessary to contact a professional technician to assess and repair the motor or blades. Regular maintenance and proper care of your RV’s cooling system can help prevent such issues in the future.
7. Install A Fan To Boost Airflow
If your RV AC is not blowing hard, one effective solution is to install a fan to help increase the airflow. This can significantly improve the cooling efficiency of your AC unit and make your RV more comfortable during hot days.
7.1 Choose A High-quality Fan
When selecting a fan for your RV, opt for a high-quality model that is durable and provides strong airflow. Look for fans specifically designed for RVs to ensure compatibility and efficient performance.
7.2 Position The Fan Appropriately
Proper placement of the fan is crucial for optimal airflow. Ensure the fan is positioned in a location that allows air to circulate throughout the RV efficiently. Experiment with different placements to find the best spot for maximum cooling effect.

Credit: www.thervgeeks.com

Credit: www.oasiscooling.com
Frequently Asked Questions For Rv Ac Not Blowing Hard
Why Is My Rv Ac Not Blowing Hard?
Your RV AC may not blow hard due to clogged air filters, low refrigerant levels, or a faulty blower motor. Regular maintenance, such as cleaning or replacing filters, checking refrigerant levels, and ensuring proper functioning of the blower motor, can help resolve this issue.
What Are The Common Reasons For Weak Rv Ac Airflow?
Common reasons for weak RV AC airflow include dirty air filters, clogged vents, a malfunctioning blower motor, or a refrigerant leak. Regularly cleaning or replacing air filters, ensuring proper ventilation, and regularly servicing the AC system can help resolve these issues.
How Can I Improve The Airflow Of My Rv Ac?
To improve the airflow of your RV AC, ensure that the air filters are clean and unclogged, the vents are clear of obstructions, and the blower motor is functioning correctly. Additionally, checking for any refrigerant leaks and maintaining proper refrigerant levels can also improve the AC airflow.
Should I Seek Professional Help For Weak Rv Ac Airflow Issues?
If you’ve tried basic troubleshooting steps and the issue persists, seeking professional help is advisable. A certified RV technician can diagnose and address complex AC problems such as refrigerant leaks, blower motor malfunctions, or other technical issues to ensure optimal performance.
Conclusion
If you find that your RV AC is not blowing as hard as it should, it’s essential to troubleshoot the issue promptly. Start by checking the air filter, cleaning the vents, and ensuring proper power supply. If these steps don’t resolve the problem, it may be necessary to consult a professional.
By addressing the issue promptly, you can enjoy a comfortable and well-functioning cooling system during your RV adventures.