To vent a pellet stove, ensure proper ventilation installation and regular maintenance for safe and efficient operation. Proper venting is crucial for optimal performance and safety when using a pellet stove.
Ventilation is essential for the efficient and safe operation of a pellet stove. Proper venting not only ensures that the stove functions effectively but also helps in maintaining indoor air quality. We will delve into the importance of venting a pellet stove and provide practical tips for ensuring proper ventilation.
Whether you are considering installing a new pellet stove or looking to upgrade the ventilation system of your existing stove, understanding the venting process is crucial. By following some simple guidelines and best practices, you can enjoy all the benefits of a pellet stove while keeping your home safe and comfortable.
Choosing The Right Venting System
When choosing the right venting system for your pellet stove, it’s essential to consider the types of pellet stove venting systems available and how they align with your home’s layout.
Types Of Pellet Stove Venting Systems
- Direct Venting System
- Power Venting System
- Natural Venting System
Considering Your Home’s Layout
- Assess the available space for venting installation
- Determine the distance from the stove to the exterior wall
- Consider any obstacles or obstructions in the venting path
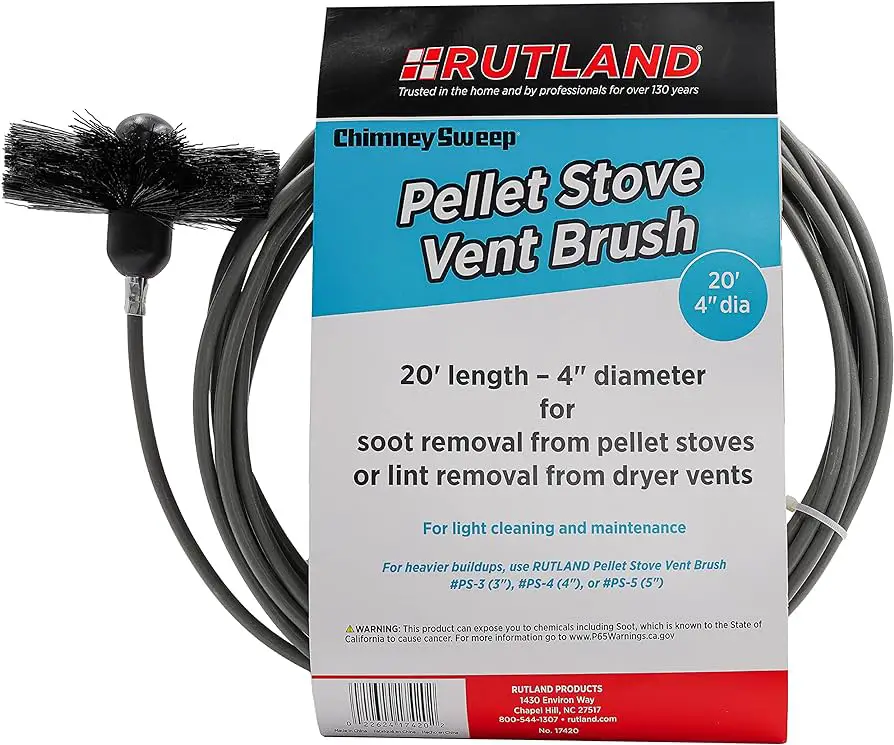
Credit: www.homedepot.com
Preparing For Venting Installation
To prepare for venting installation of a pellet stove, consider the location and clearance requirements. Ensure proper venting materials and check for any obstructions. Follow the manufacturer’s guidelines for safe and efficient venting installation. Properly venting a pellet stove is crucial for its performance and safety.
Gathering Necessary Tools And Materials
Before beginning the venting installation process, make sure to gather all the essential tools and materials required:
- Pipe sections
- Elbows and connectors
- Wall thimble
- High-temperature sealant
- Measuring tape
- Hole saw
- Screwdriver
Ensuring Compliance With Local Regulations
It is crucial to adhere to local regulations and codes when venting a pellet stove:
- Obtain necessary permits
- Follow manufacturer’s guidelines
- Ensure proper clearances
- Use approved venting materials
- Get inspections as required
Venting Through The Wall
Venting a pellet stove through the wall is a popular option for homeowners seeking an efficient and convenient method of venting. This method allows for flexible installation while maintaining the safety and proper function of the pellet stove. In this section, we will explore the process of venting through the wall, including selecting the optimal location for the vent and cutting and installing the vent pipe.
Selecting The Optimal Location For The Vent
Before beginning the venting process, it is crucial to choose the best location for the vent. Select a wall that provides a clear path to the exterior and ensures proper clearance from any obstructions or combustible materials. It is important to refer to the manufacturer’s guidelines for specific clearance requirements based on the type of venting system being used.
Cutting And Installing The Vent Pipe
Once the optimal location for the vent has been determined, the next step is to cut and install the vent pipe. Carefully measure the length of vent pipe needed to reach the exterior of the wall and use a suitable cutting tool to make precise cuts. After cutting the vent pipe to the correct length, proceed to install the wall thimble or vent termination kit according to the manufacturer’s instructions.
Venting Through The Ceiling
Venting a pellet stove through the ceiling is a popular option that many homeowners choose due to its efficiency and convenience. When properly done, venting through the ceiling can provide effective heat dispersion while maintaining the aesthetics of your space. In this article, we will discuss the key points to consider when venting your pellet stove through the ceiling.
Determining The Best Ceiling Entry Point
Choosing the right entry point on your ceiling is crucial for optimal venting of your pellet stove. It’s important to locate an area that allows for a direct, vertical venting path to the outside. In most cases, the center of the room is the ideal spot as it provides even heat distribution. Make sure you avoid any obstructions like beams or electrical wiring that could hinder proper venting.
Securing And Sealing The Vent Pipe
Securing and sealing the vent pipe is essential to prevent leaks and ensure efficient venting. Firstly, ensure that the vent pipe is securely attached to the pellet stove’s exhaust outlet using the appropriate connectors. Use screws and metal straps to fasten the pipe firmly, ensuring it remains in place. Additionally, apply high-temperature sealant around the joints and connections to create an airtight seal. This will prevent any air leakage, ensuring maximum heat efficiency and safety.
Remember to frequently inspect and maintain the vent pipe to ensure it’s free from any blockages, debris, or damages. Any obstruction or damage to the vent pipe can affect the performance of your pellet stove and compromise safety.
By following these guidelines for venting your pellet stove through the ceiling, you can enjoy efficient heat distribution while maintaining the aesthetics of your space. Remember to always consult a professional if you require assistance or are unsure about any steps of the process.
Troubleshooting Common Venting Issues
When it comes to venting a pellet stove, there can be a few common issues that may arise. Understanding how to troubleshoot these problems can help ensure that your pellet stove operates efficiently and effectively. In this article, we will discuss two common venting issues that you may encounter: dealing with drafting problems and addressing condensation and leakage.
Dealing With Drafting Problems
If you notice that your pellet stove is not operating properly or is producing excessive smoke, you may be experiencing drafting problems. Drafting problems occur when there is a disruption in the flow of air through the venting system, causing the stove to not burn efficiently. Here are a few steps you can take to address this issue:
- Check the venting system for blockages: Inspect the vent pipe and chimney for any obstructions such as bird nests, debris, or creosote buildup. Remove any blockages to allow for proper airflow.
- Ensure proper installation: Make sure that the vent pipe is installed correctly and in compliance with the manufacturer’s guidelines. Improper installation can cause drafting problems.
- Adjust damper settings: Check the position of the damper. If it’s closed too tightly, it may be restricting airflow. Adjust the damper to allow for proper ventilation.
- Consider a draft inducer: If the drafting problem persists, you may want to consider installing a draft inducer. This device can help create a stronger draft, improving the efficiency of your pellet stove.
Addressing Condensation And Leakage
Another common venting issue that pellet stove owners may encounter is condensation and leakage. When hot exhaust gases meet a cold vent pipe or chimney, condensation can occur, leading to potential water damage. Here are some steps you can take to address condensation and leakage:
- Inspect the vent pipe for damage: Look for any signs of damage, such as cracks or gaps in the vent pipe. If you notice any issues, replace the damaged sections to prevent water leakage.
- Install a condensation trap: Consider installing a condensation trap in the venting system. This device collects any condensation and redirects it back into the stove, preventing leakage.
- Ensure proper insulation: Insulate the vent pipe to prevent it from coming into contact with cold surfaces. This insulation helps maintain the temperature of the exhaust gases and reduces the risk of condensation.
- Properly seal connections: Make sure that all connections between the venting components are tightly sealed. This prevents any potential leakage of exhaust gases or condensation.

Credit: m.facebook.com
Credit: www.tractorsupply.com
Frequently Asked Questions On Venting A Pellet Stove
How Do You Vent A Pellet Stove?
To vent a pellet stove, you need to connect it to a ventilation system or chimney, ensuring proper air flow and safety measures are in place.
Can You Vent A Pellet Stove Through A Wall?
Yes, you can vent a pellet stove through a wall using a horizontal vent system, which requires careful installation to maintain efficiency and avoid heat damage.
What Size Vent Pipe Do I Need For A Pellet Stove?
For most pellet stoves, a 3 or 4-inch diameter vent pipe is commonly used to allow for proper venting and adequate air circulation.
Do You Need A Chimney For A Pellet Stove?
While pellet stoves can be vented through a chimney, it is not always necessary. Alternative venting options include direct vent systems, which provide flexibility in installation.
How Often Should You Clean The Vent Pipes Of A Pellet Stove?
It is recommended to clean the vent pipes of a pellet stove at least once a year to remove any debris or soot buildup and ensure proper ventilation and efficiency.
Conclusion
In maintaining your pellet stove, venting is crucial for safety and efficiency. Proper venting ensures the removal of harmful gases and fumes. Taking the time to understand and implement the correct venting process will result in a more reliable and effective heating system for your home.
By following the tips and guidelines provided, you can ensure your pellet stove operates safely and efficiently for years to come.